 Pin it
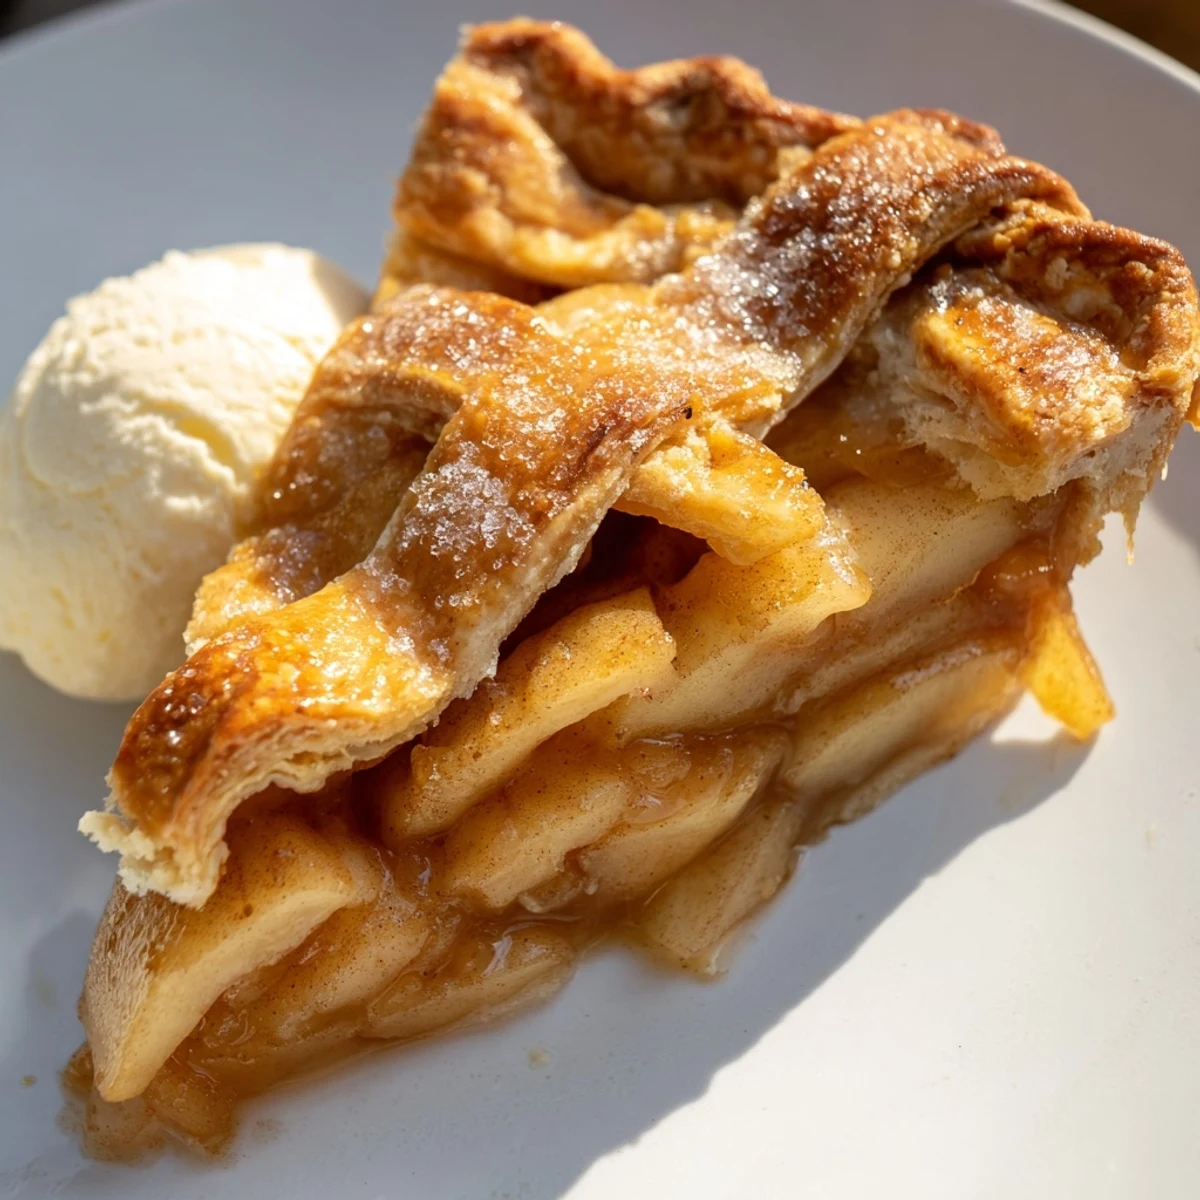
 Create this beloved American dessert featuring tender tart apples spiced with cinnamon, nutmeg, and cloves, nestled in a handmade flaky butter crust. The filling balances sweetness from brown and granulated sugar with bright lemon juice, while the pastry delivers classic buttery richness.
The process starts with preparing your crust from scratch using cold butter and ice water, followed by tossing fresh apple slices with warm spices. After assembling and crimping the edges, a golden egg wash finish creates that beautiful bakery-style appearance.
Serve this warm comfort dessert topped with vanilla ice cream or whipped cream. For extra depth, try adding raisins or a splash of Calvados to the filling. The pie yields eight generous servings and improves in flavor after cooling completely.
The smell of cinnamon and apples baking through the house on a rainy Sunday afternoon still takes me back to my grandmother's kitchen. I spent hours watching her work flour and butter with her hands, that confident rhythm that comes from making something hundreds of times. My first attempt was a disaster—a soggy bottom and burnt edges—but she just smiled and said that's how we learn. Now every time I pull a golden pie from the oven, I think about how some recipes are worth the patience they demand.
Last Thanksgiving I made three of these pies because my family threatened mutiny if there weren't leftovers for breakfast the next morning. My nephew watched the whole process with wide eyes, asking if we could add extra cinnamon because more is better when you're eight years old. We ate cold pie slices straight from the fridge while watching football and nobody complained once about cold filling.
Ingredients
- 2 1/2 cups all-purpose flour: The foundation of your crust—keep some extra nearby for dusting your work surface
- 1 cup unsalted butter, cold: Seriously cold butter creates those gorgeous flaky pockets that make pie crust legendary
- 1 tsp salt: Just enough to balance all that sweetness coming from the apples
- 1 tbsp granulated sugar: A touch of sweetness in the crust makes it golden and irresistible
- 6–8 tbsp ice water: Add this slowly—too much makes tough dough, too little makes it fall apart
- 6 cups tart apples: Granny Smiths hold their shape beautifully through baking and provide that perfect balance to the sugar
- 3/4 cup granulated sugar and 1/4 cup brown sugar: This combination gives depth—the brown sugar adds caramel notes while white sugar provides straightforward sweetness
- 2 tbsp all-purpose flour in filling: The secret that keeps your pie from becoming a soupy mess on the plate
- 1 tbsp lemon juice: Brightens everything up and prevents those apples from turning brown before they hit the oven
- 1 1/2 tsp ground cinnamon, 1/4 tsp nutmeg, 1/8 tsp cloves: This warm spice trio is what makes apple pie smell like comfort itself
- 2 tbsp unsalted butter pieces: Tucked over the apples, these little butter pockets melt into the filling creating incredible richness
- 1 egg and 1 tbsp milk: Whisked together for that professional looking golden finish
- 1 tbsp coarse sugar: Totally optional but adds this gorgeous sparkle and crunch to the top crust
Instructions
- Making the Crust:
- Whisk together your flour, salt, and sugar in a large bowl before cutting in that cold butter with a pastry cutter until you see coarse crumbs—some pea-sized butter pieces should remain. Sprinkle ice water over the mixture, gently tossing with a fork until the dough holds together when squeezed, then divide into two discs, wrap them up, and let rest in the fridge for at least an hour.
- Preparing the Filling:
- In a big bowl, toss those sliced apples with both sugars, flour, lemon juice, cinnamon, nutmeg, cloves, and salt until every piece is thoroughly coated.
- Rolling and Assembly:
- On a well-floured surface, roll one disc into a 12-inch circle and gently press it into your 9-inch pie dish. Fill the crust with those spiced apples and dot with the small butter pieces.
- Topping and Sealing:
- Roll out your second dough disc and drape it over the apples. Trim the excess, fold the edges under, and crimp them with your fingers or a fork to seal everything shut, then cut several slits in the top so steam can escape during baking.
- The Finishing Touch:
- Brush the entire top crust with your egg wash and sprinkle with coarse sugar if you want that extra sparkle.
- Baking to Perfection:
- Preheat your oven to 425°F and bake for 20 minutes before reducing the temperature to 375°F and continuing for another 35 to 40 minutes until the crust is deeply golden and you see the filling bubbling through those vents.
- The Hardest Part:
- Let the pie cool on a wire rack for at least 2 hours—this is absolutely crucial because the filling needs time to set.
 Pin it
 My sister still talks about the year I tried to rush the cooling time and ended up serving apple soup in a pie shell. We laughed about it while eating the messy bowls with spoons, but now I treat that two hour wait as non-negotiable. Some of the best conversations happen around the counter while everyone waits that final hour anyway.
Making It Your Own
I've found that adding a handful of golden raisins or dried cranberries to the apple mixture brings this incredible chewy contrast that people can never quite identify. A splash of Calvados or brandy makes it feel fancy without overpowering the apples. Sometimes I swap in half whole wheat flour for the all-purpose in the crust—the nuttiness pairs surprisingly well with the sweet filling.
Mastering the Crimp
The first time I tried to crimp pie edges like my grandmother did, it looked like a toddler had attacked the dough with a fork. Now I press my thumb down into the dough between my index and middle finger on both hands, working around the entire pie. Don't stress about perfection—rustic edges taste just as delicious and they show that real hands made this.
Serving and Storing
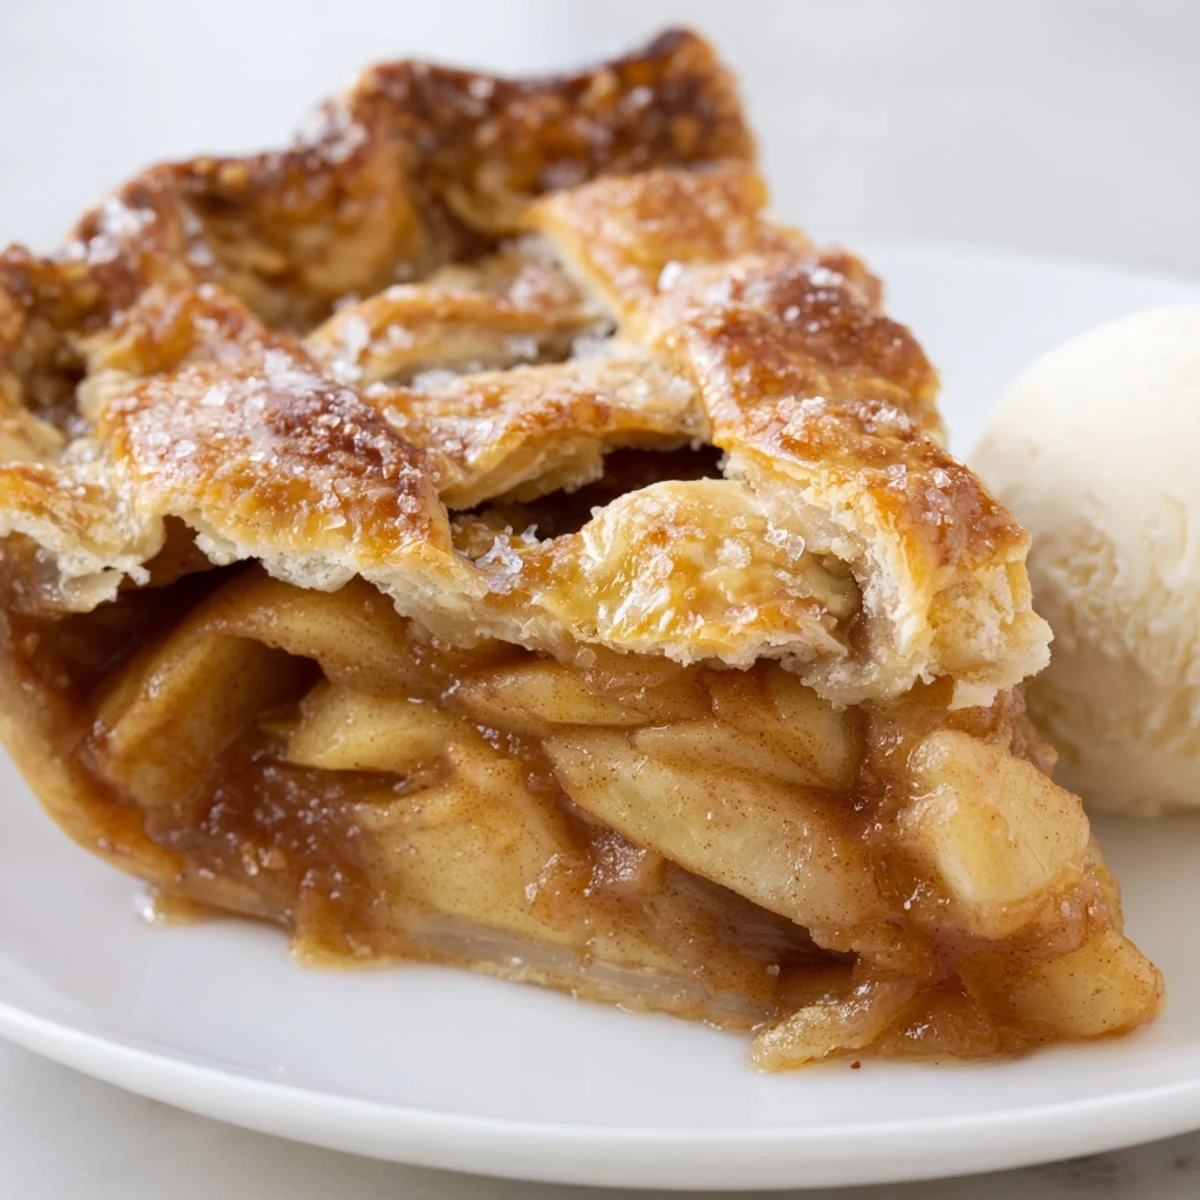
There's something almost sacred about the first warm slice with vanilla ice cream melting into every crevice. Leftovers keep beautifully at room temperature for a day or two, covered loosely with foil, or in the refrigerator for up to four days. I actually think the flavors deepen after a day, if you can manage to save any that long.
- Warm individual slices in a 350°F oven for about 10 minutes to recapture that fresh-baked magic
- Freeze unbaked pies for up to three months—just add 10-15 minutes to the baking time
- A piece of parchment paper tented over the pie prevents excessive browning if the top is getting too dark
 Pin it
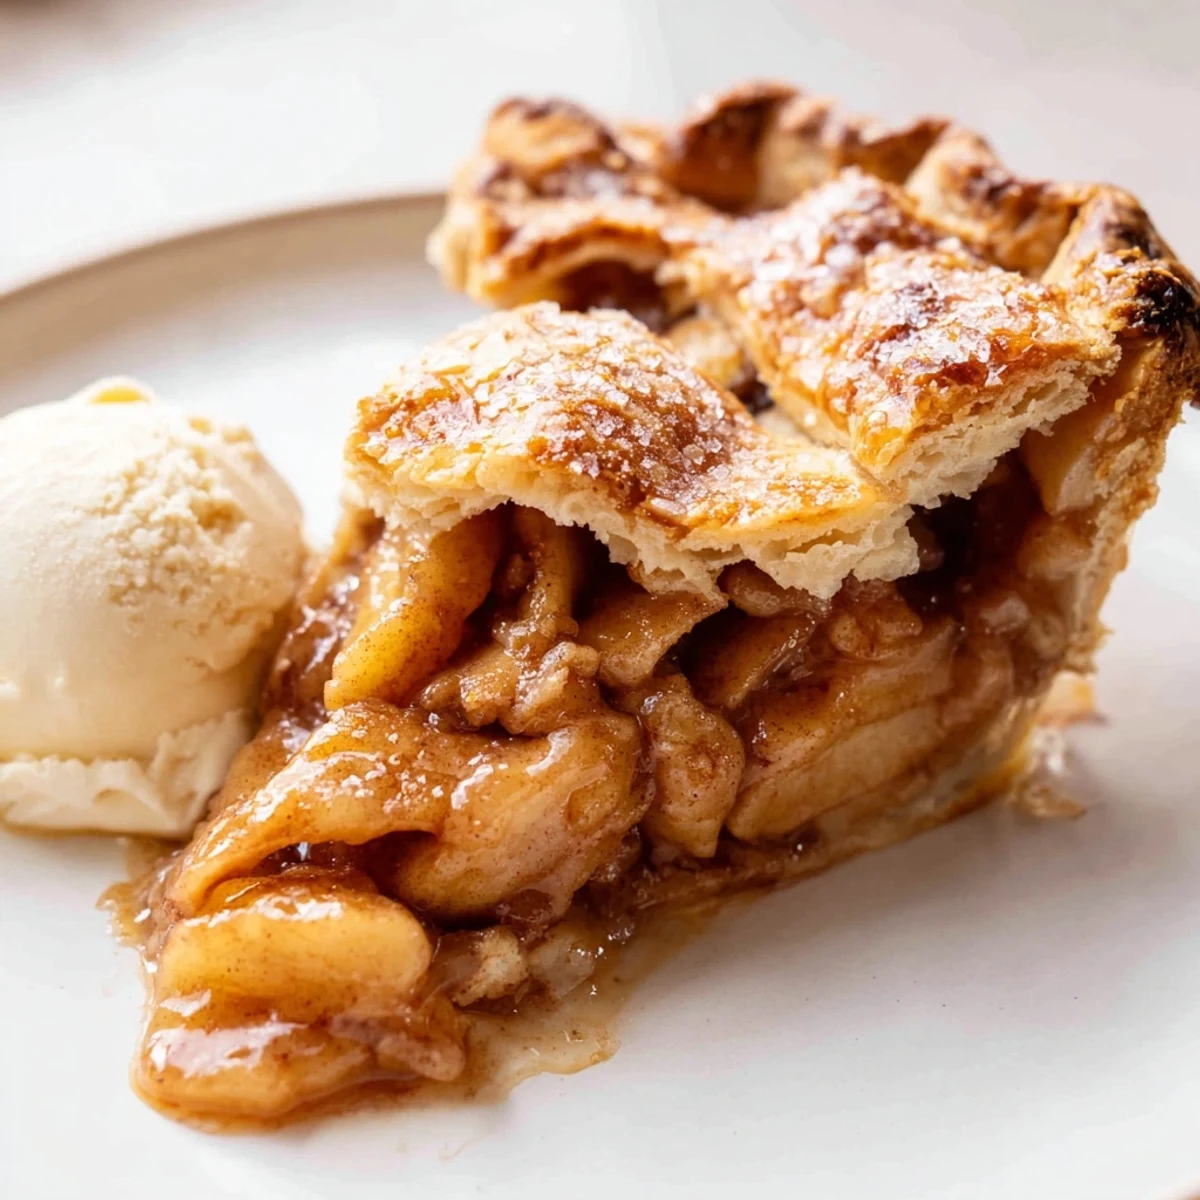
 Every kitchen deserves the smell of baking apples and cinnamon at least once each autumn. Here's to pies that aren't perfect but are made with love.
Recipe Q&A
- → What apples work best?
-
Granny Smith apples are ideal because their tart flavor holds up beautifully during baking. You can also mix in Honeycrisp or Braeburn for additional sweetness while maintaining texture.
- → Why must the butter be cold?
-
Cold butter creates small pockets of steam during baking, resulting in those desirable flaky layers. Warm butter melts prematurely, leading to a tough, dense crust instead of tender pastry.
- → How do I prevent a soggy bottom?
-
Ensure your oven is fully preheated before baking. Starting at 425°F helps set the crust quickly. Also, let the pie cool completely on a wire rack—the filling continues to set as it cools.
- → Can I make this ahead?
-
The dough can be prepared and refrigerated up to 2 days in advance. You can also freeze the unbaked assembled pie for up to 3 months—bake from frozen, adding about 15 minutes to the baking time.
- → What is the purpose of the egg wash?
-
Beating egg with milk and brushing it over the crust creates a golden, glossy finish and helps coarse sugar adhere to the surface. This step gives your pie that professional bakery appearance.