 Pin it
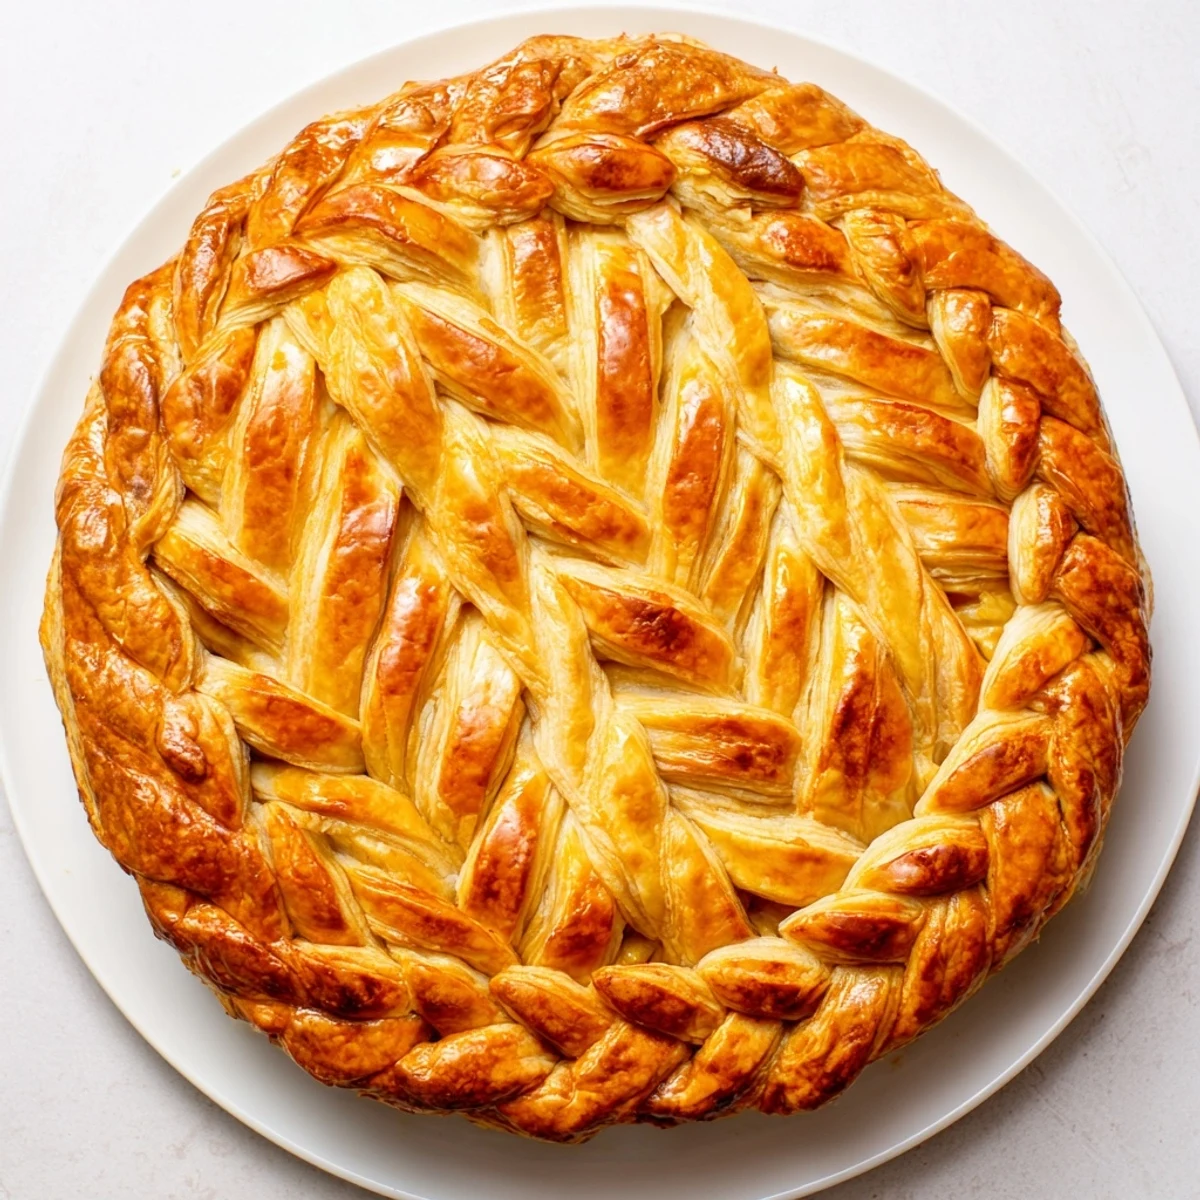
 Transform ordinary pies into showstoppers with this intricate fishtail braiding technique. The method creates a woven, plaited edge that looks professionally crafted but is entirely achievable for home bakers. Using basic pie dough, you'll form twelve strips, group them into sets of four, and weave them using a simple over-under pattern. The result is a stunning crust that works equally well with fruit fillings, custards, or savory pot pies. Blind baking ensures the decorative edge stays crisp and golden, while an egg wash adds professional sheen.
My grandmother used to say that people eat with their eyes first, and I never really understood what she meant until I spent an entire Sunday afternoon learning to weave dough like hair. I had ruined three batches of pastry before getting the rhythm right, my kitchen covered in flour and frustration. But when that first braided crust came out of the oven, golden and intricate, I finally saw her point.
The first time I served this at a dinner party, my friend Sarah actually asked where I bought the pie. When I told her I made the crust myself, she made me promise to teach her the technique right there at the table, using breadsticks from the appetizer basket as demonstration dough. We ended up with a kitchen full of laughing, braiding adults, and I realized that sometimes the most impressive recipes are also the most fun to share.
Ingredients
- 2 1/2 cups all-purpose flour: The foundation of everything, cold flour helps keep those butter bits intact for flaky layers
- 1 cup cold unsalted butter: Keep this ice cold, seriously, warm butter is the enemy of pastry and I learned this the hard way
- 1 tsp salt: Dont skip this, it balances the sweetness in fruit pies and enhances savory fillings
- 1 tbsp sugar: Just enough to help the crust brown beautifully without making it sweet
- 6-8 tbsp ice water: Add gradually, you might not need all of it, and better slightly too dry than too wet
- 1 egg beaten with 1 tbsp milk: This egg wash creates that gorgeous golden finish that makes people think you are a professional baker
Instructions
- Mix the dry foundation:
- Whisk flour, salt, and sugar in a large bowl until combined, then cut in cold butter until the mixture looks like coarse crumbs with some pea-sized pieces remaining
- Bring the dough together:
- Add ice water gradually, mixing gently with your hands just until the dough holds together when squeezed, then divide into two discs and chill for at least one hour
- Prepare your canvas:
- Roll one disc to fit your pie plate, press it in gently, trim the edges, and keep it chilled while you work on the decorative braids
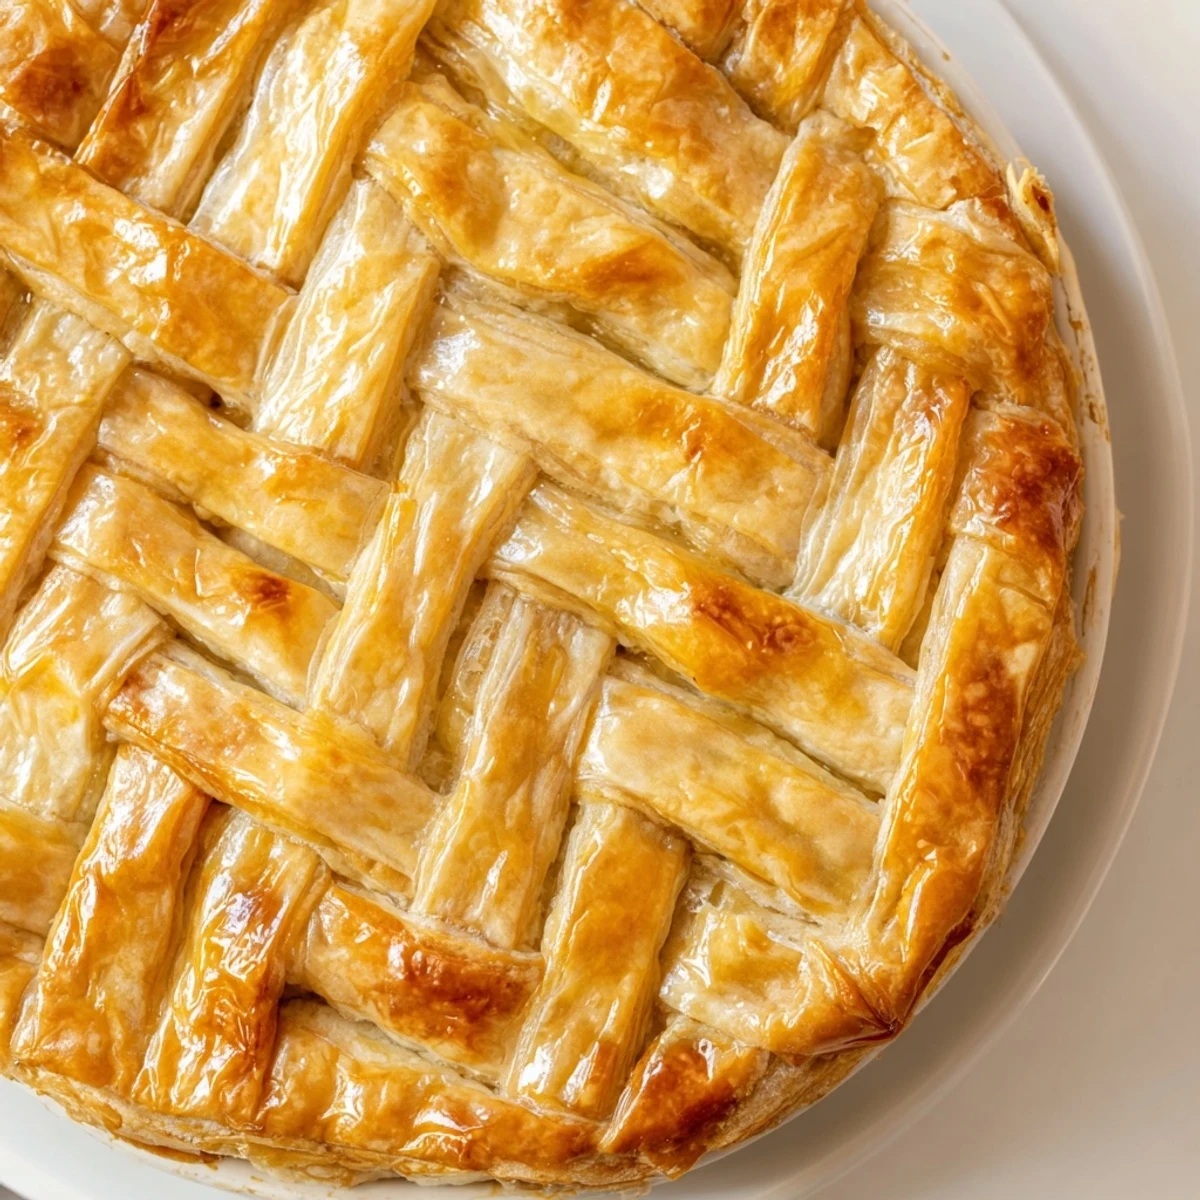
- Create your weaving strips:
- Roll the second disc to 1/4 inch thickness and cut twelve long, even strips about half an inch wide, grouping them into three sets of four strands each
- Master the fishtail braid:
- Pinch the tops of each four-strip set together, then take the leftmost strip over, under, over, repeating with each new leftmost strip until fully braided
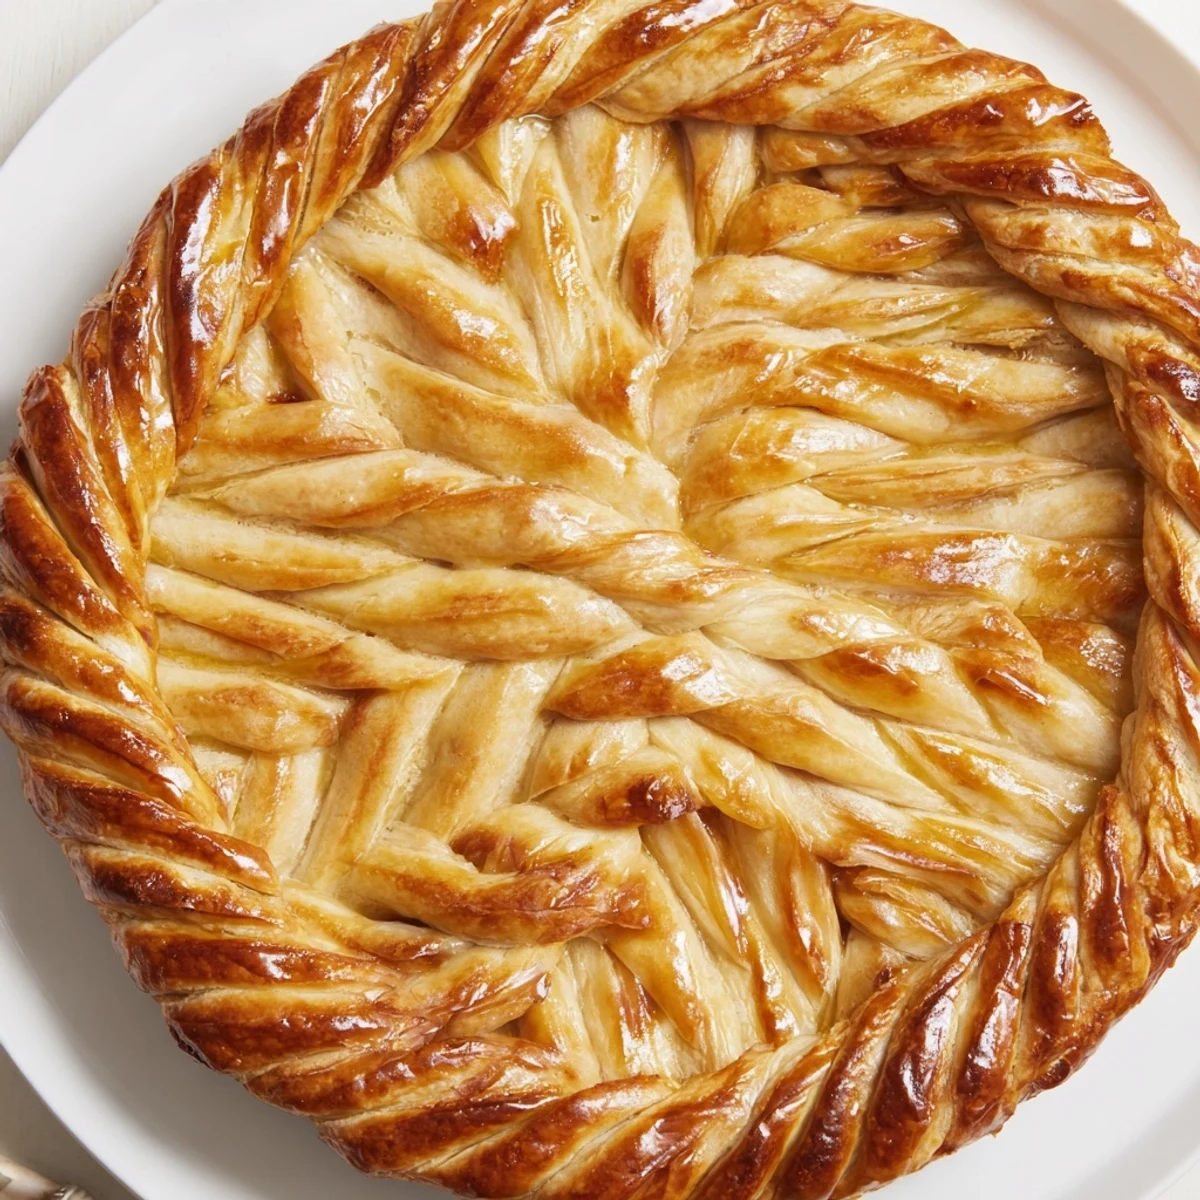
- Apply your masterpiece:
- Carefully transfer each braid to the chilled pie edge, pressing gently to adhere and trimming any excess, using a drop of water to help seal if needed
- The golden moment:
- Chill the assembled pie for 15 minutes, preheat oven to 400 degrees, brush with egg wash, and blind bake for 12-15 minutes until beautifully golden
 Pin it
 This crust became my go-to for bringing pies to new neighbors and holiday gatherings. Something about that intricate braid tells people you really cared about what you were making, like you were cooking love right into the pastry.
The Temperature Secret
Cold ingredients are absolutely nonnegotiable for successful pastry. I keep my flour in the freezer for particularly hot days and work with marble surfaces when possible. Every degree matters when it comes to flaky results.
Making It Yours
Try adding herbs to the dough for savory applications or cinnamon for sweet pies. You can also brush the finished crust with honey and sprinkle with turbinado sugar for extra crunch and caramelization.
Storage And Make Ahead Wisdom
The dough keeps beautifully in the freezer for up to three months, so I always make double batches. You can braid the strips separately, freeze them on a baking sheet, then transfer to a bag for quick decoration later.
- Wrap dough discs tightly in plastic, then foil, to prevent freezer burn
- Thaw frozen dough in the refrigerator overnight, never on the counter
- Braided strips can go directly from freezer to oven, just add a few minutes baking time
 Pin it
 Every pie I make now gets this treatment, because life is too short for plain crust edges when you can make something this stunning with just a little extra time and patience.
Recipe Q&A
- → Can I make the braids ahead of time?
-
Yes, you can prepare the braided strips up to 24 hours in advance. Wrap them tightly in plastic and refrigerate. When ready to assemble, let them sit at room temperature for 5 minutes so they become pliable enough to work with without cracking.
- → What if my dough strips break while braiding?
-
If strips tear, simply overlap the broken ends and press gently to seal. The egg wash applied before baking will help hide any imperfections. Working with chilled dough and keeping strips at consistent thickness helps prevent breakage.
- → Do I need special tools to create the fishtail pattern?
-
No special equipment required beyond a sharp knife or pastry wheel for cutting strips, a rolling pin, and your hands. The braiding technique uses only four strips per section, making it more manageable than traditional lattice designs that require more strips.
- → Can I freeze pies with this braided crust?
-
Absolutely. Assemble the complete pie with the braided edge, wrap tightly in plastic and foil, and freeze for up to 3 months. Bake from frozen, adding 10-15 minutes to the baking time. The braid holds its shape beautifully through freezing.
- → Is this technique suitable for beginners?
-
While rated medium difficulty, the fishtail braid is actually more forgiving than it appears. The four-strand pattern follows a repetitive motion that becomes intuitive after practicing on one or two sections. Take your time with the first set, and you'll find your rhythm quickly.
- → Can I use store-bought dough?
-
Yes, refrigerated pie dough works perfectly for this technique. Let it thaw according to package instructions, then proceed with cutting and braiding. You may need to roll it slightly thinner to achieve the desired strip width.