
 Pin it
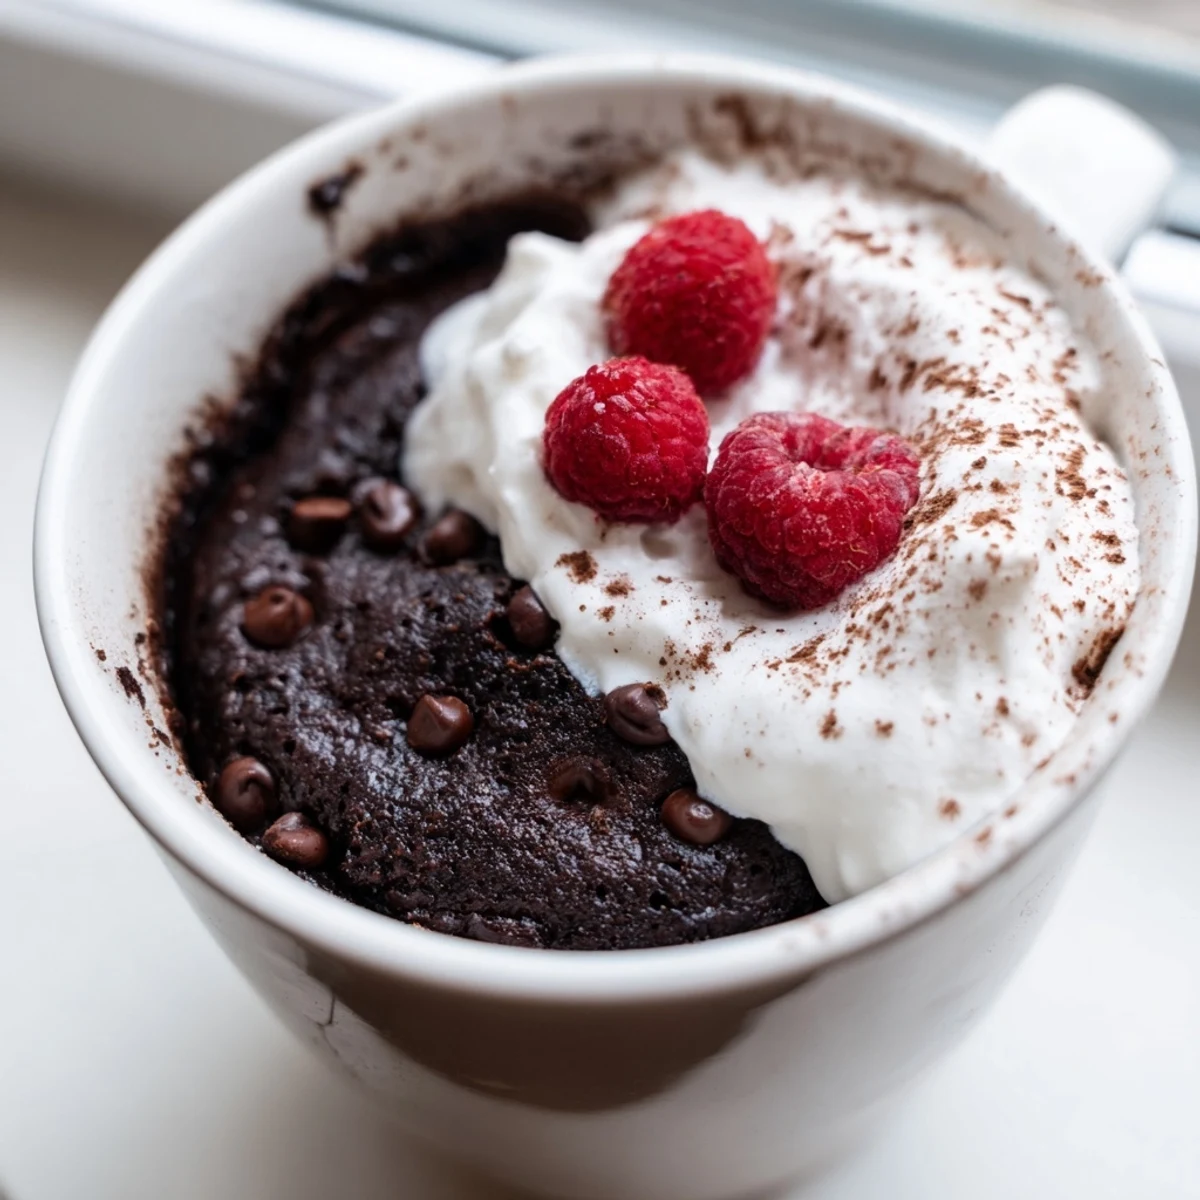
 This gluten-free chocolate mug cake is the ultimate quick-fix dessert for anyone craving something rich and chocolaty without the fuss. Ready in just 7 minutes from start to finish, it comes together with basic pantry staples like gluten-free flour, cocoa powder, sugar, and milk directly in a microwave-safe mug.
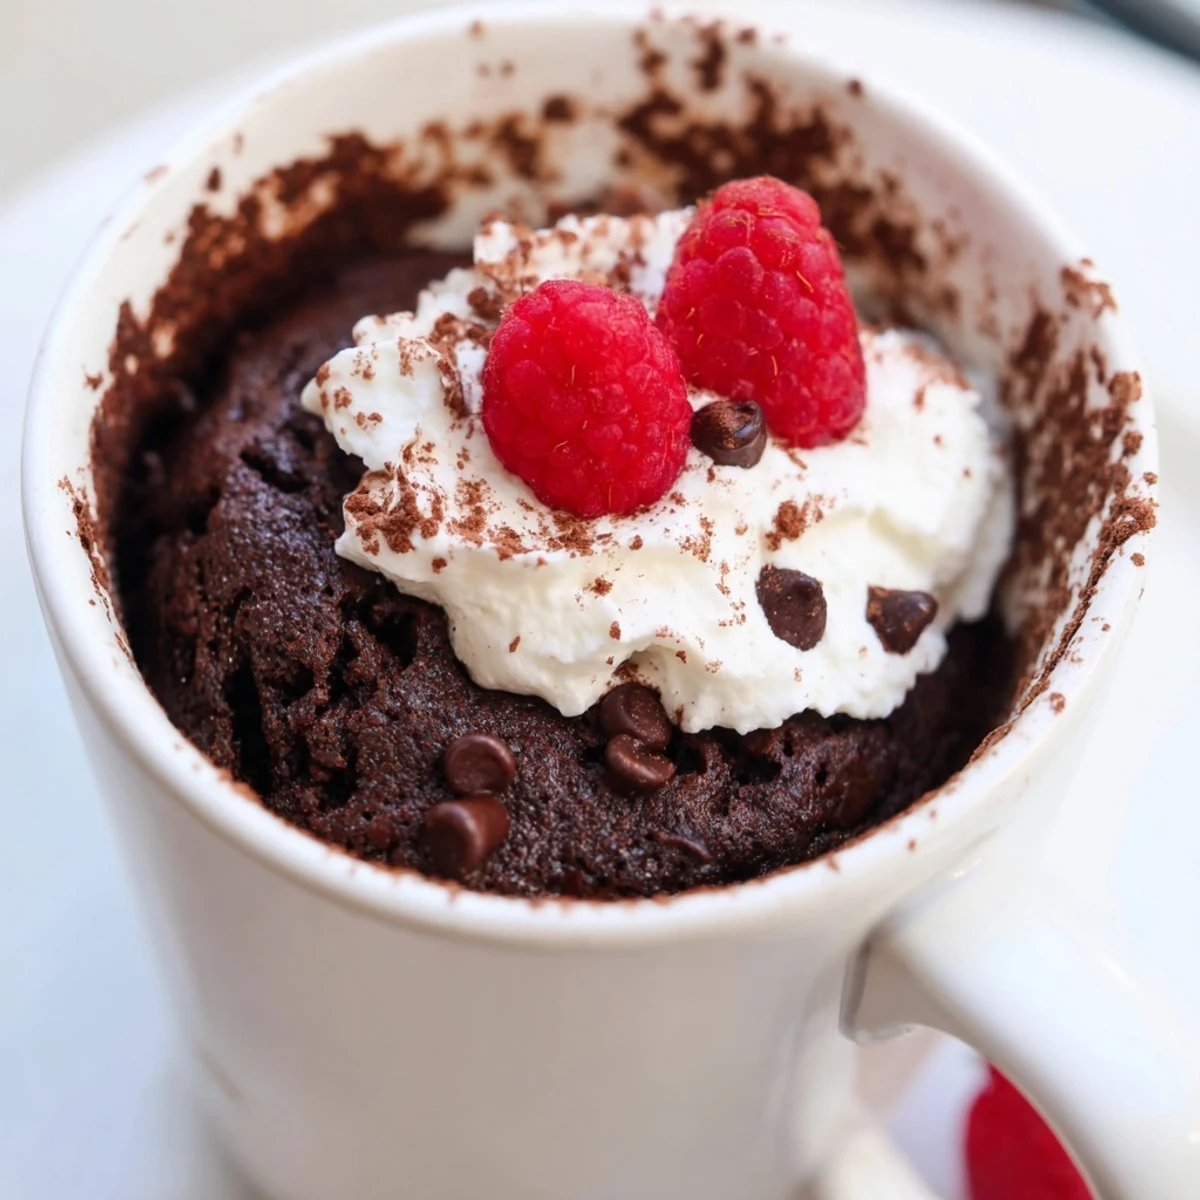
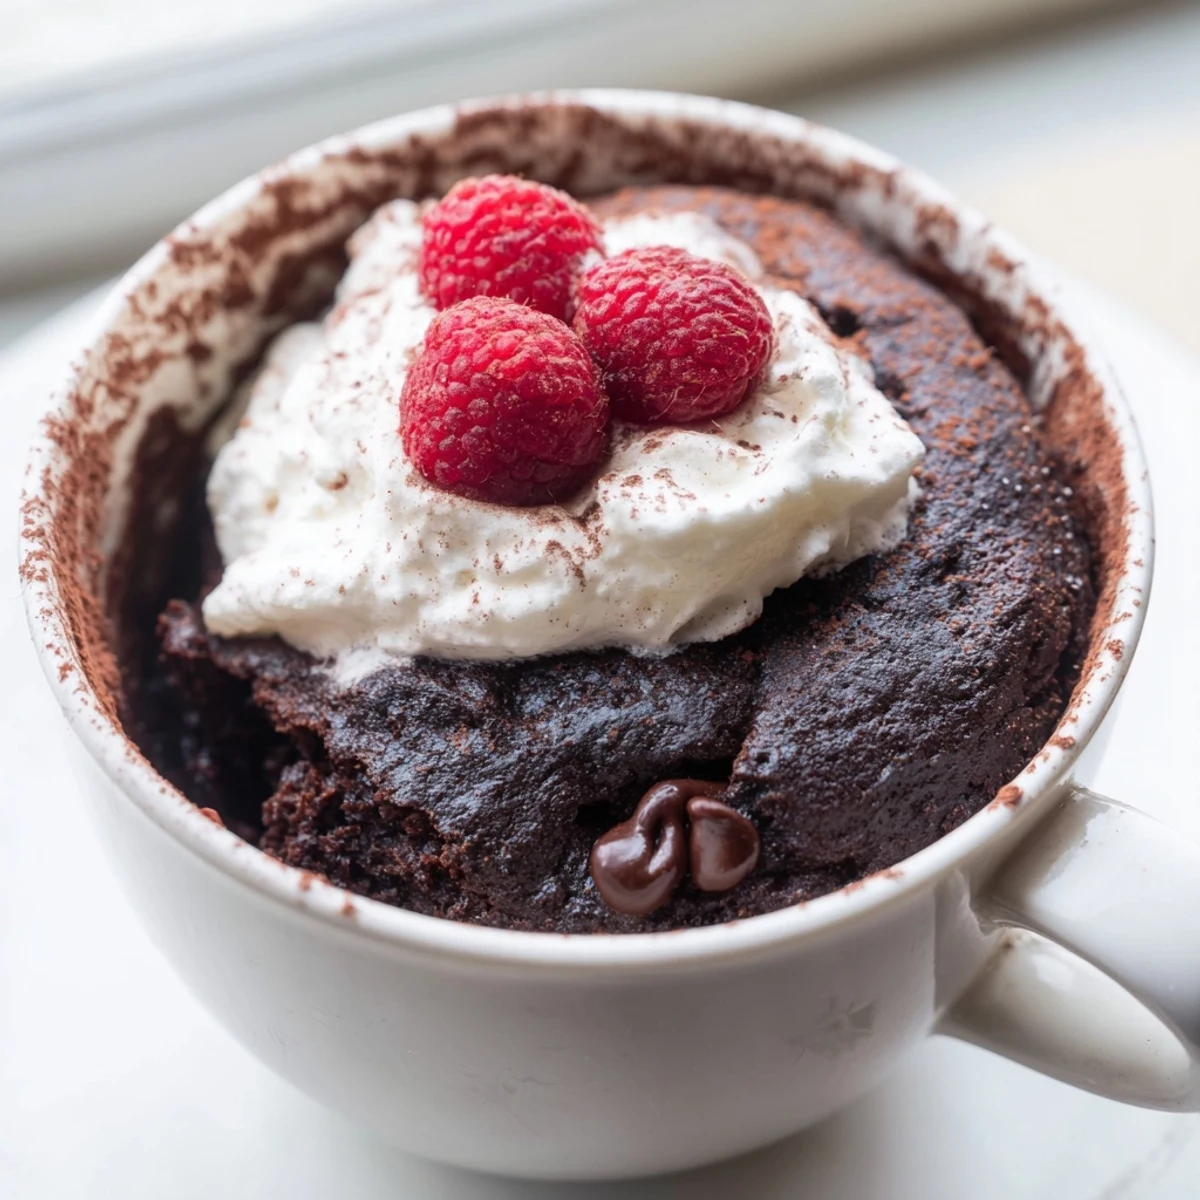
The batter whisks up smooth in seconds, and after roughly 90 seconds in the microwave, you're rewarded with a warm, tender cake with a deeply chocolatey flavor. Toss in a handful of chocolate chips for extra decadence, and top with whipped cream or fresh berries to make it feel truly special.
It's naturally vegetarian, entirely gluten-free, and easily adapted to be dairy-free by swapping in your favorite plant-based milk. Perfect for late-night cravings, single-serving indulgence, or whenever you need a little something sweet without turning on the oven.
The clock read 11:47 at night and my nephew was staring at me with that look kids get when they need chocolate immediately or the world might actually end. I had no flour, no patience, and exactly one clean mug. Seven minutes later we were both leaning against the counter, spoons in hand, eating the richest little cake either of us had ever tasted.
I started making this for my friend Meg after she found out she could not eat gluten anymore and she swore dessert would never be the same. The first time I handed her this mug she went quiet for a long moment, then looked up and said it tasted like real cake. We now have a running tradition where I text her a photo of it at random hours and she responds with angry emojis because she cannot reach through the phone.
Ingredients
- Gluten free all purpose flour blend (3 tablespoons): This is your foundation so use a blend you trust, and if yours does not include xanthan gum add a tiny pinch to keep the crumb together.
- Unsweetened cocoa powder (2 tablespoons): This is where all the deep chocolate flavor comes from and dutch processed gives a smoother result than natural.
- Granulated sugar (3 tablespoons): It might seem like a lot for one serving but sugar does heavy lifting for texture and moisture in a microwave cake.
- Baking powder (1/4 teaspoon): Just enough to give it a gentle lift without making it taste metallic so measure carefully.
- Salt (a pinch): Never skip this because salt makes chocolate taste like itself.
- Milk, dairy or non dairy (3 tablespoons): Any milk works here and I have used oat, almond, and regular whole milk all with great results.
- Neutral oil (2 tablespoons): Oil keeps the cake moist in a way butter cannot quite manage in the microwave and canola or light olive oil both disappear into the batter.
- Pure vanilla extract (1/4 teaspoon): A small amount rounds out the chocolate and makes everything smell like a proper bakery.
- Chocolate chips (1 tablespoon, optional): Fold them in for molten pockets and they are worth the extra ten seconds.
- Whipped cream or berries for serving: A dollop of something cold on top turns this from a snack into a moment.
Instructions
- Build the dry base:
- Drop all your dry ingredients into a microwave safe mug that holds at least 12 ounces and whisk them together until the cocoa is fully mixed through and no white streaks remain.
- Add the wet ingredients:
- Pour in the milk, oil, and vanilla then stir vigorously with a spoon or small whisk until you have a smooth batter with no lumps hiding in the corners.
- Fold in the extras:
- If you are using chocolate chips stir them in now and consider tucking one or two into the center for a surprise molten core.
- Microwave with attention:
- Cook on high for 1 minute 30 seconds to 2 minutes, watching through the door because every microwave has its own personality and the cake should rise and set but not overflow.
- Rest and serve:
- Let it sit for 1 to 2 minutes which feels like forever but the cake finishes cooking and firms up during this rest, then top as you like.
 Pin it
 One rainy Tuesday I made this for myself and ate it standing at the window watching the storm, and somehow a three ingredient afterthought dessert felt like the most comforting thing I had eaten all week.
Choosing the Right Mug
Your mug matters more than you think and I learned this the hard way when batter erupted over the sides of a small teacup and left me scrubbing the microwave at midnight. Use something wide and at least 12 ounces to give the cake room to rise. A straight sided mug cooks more evenly than a tapered one and makes it easier to eat straight from the vessel.
Making It Your Own
The base recipe is forgiving enough to play with once you have made it a few times. A spoonful of peanut butter swirled on top before microwaving turns it into something almost truffle like. A pinch of espresso powder in the dry mix deepens the chocolate without adding any coffee flavor. My nephew now requests a version with a marshmallow tucked into the center and I have to admit the kid has good instincts.
Storage and Leftover Thoughts
This is honestly best eaten immediately while it is still warm and the edges are slightly gooey but if you somehow have half left it reheats for about 10 seconds the next day. I would not plan ahead for leftovers because that misses the entire point of spontaneous chocolate cake. Here are a few parting thoughts to keep in your back pocket.
- Always check that your baking powder and cocoa powder are certified gluten free because cross contamination can sneak in on shared equipment.
- Non dairy milk works beautifully but avoid anything too watery since it thins the batter and changes the texture.
- This recipe doubles easily if you want to make two mugs at once but do them one at a time for even cooking.
 Pin it
 Keep this recipe bookmarked for the next time a chocolate craving hits at an unreasonable hour because it will never let you down. Sometimes the best dessert is the one you did not plan for.
Recipe Q&A
- → Can I make this mug cake dairy-free?
-
Absolutely. Simply swap the milk for almond, soy, or oat milk and use dairy-free chocolate chips. The texture and flavor remain wonderfully rich and fudgy.
- → Why did my mug cake turn out rubbery?
-
Overcooking is the most common cause. Microwave strengths vary, so start with 1 minute 30 seconds and check for doneness. The cake should still look slightly moist on top and spring back gently when touched.
- → What size mug should I use?
-
Use a microwave-safe mug that holds at least 12 ounces. This gives the batter enough room to rise without overflowing during cooking.
- → Can I mix the dry ingredients ahead of time?
-
Yes, you can pre-measure and store the dry ingredients in a small airtight container or bag. When you're ready, just add the wet ingredients, stir, and microwave for a nearly instant dessert.
- → How do I know when the mug cake is fully cooked?
-
Gently press the top of the cake with your finger. If it springs back and doesn't leave a wet indentation, it's done. The surface should look set, not liquid, though a slightly gooey center is perfectly fine and even desirable.
- → Is all cocoa powder gluten-free?
-
Pure cocoa powder is naturally gluten-free, but cross-contamination can occur during manufacturing. Always check for a certified gluten-free label, especially if you have celiac disease or a high sensitivity to gluten.