 Pin it
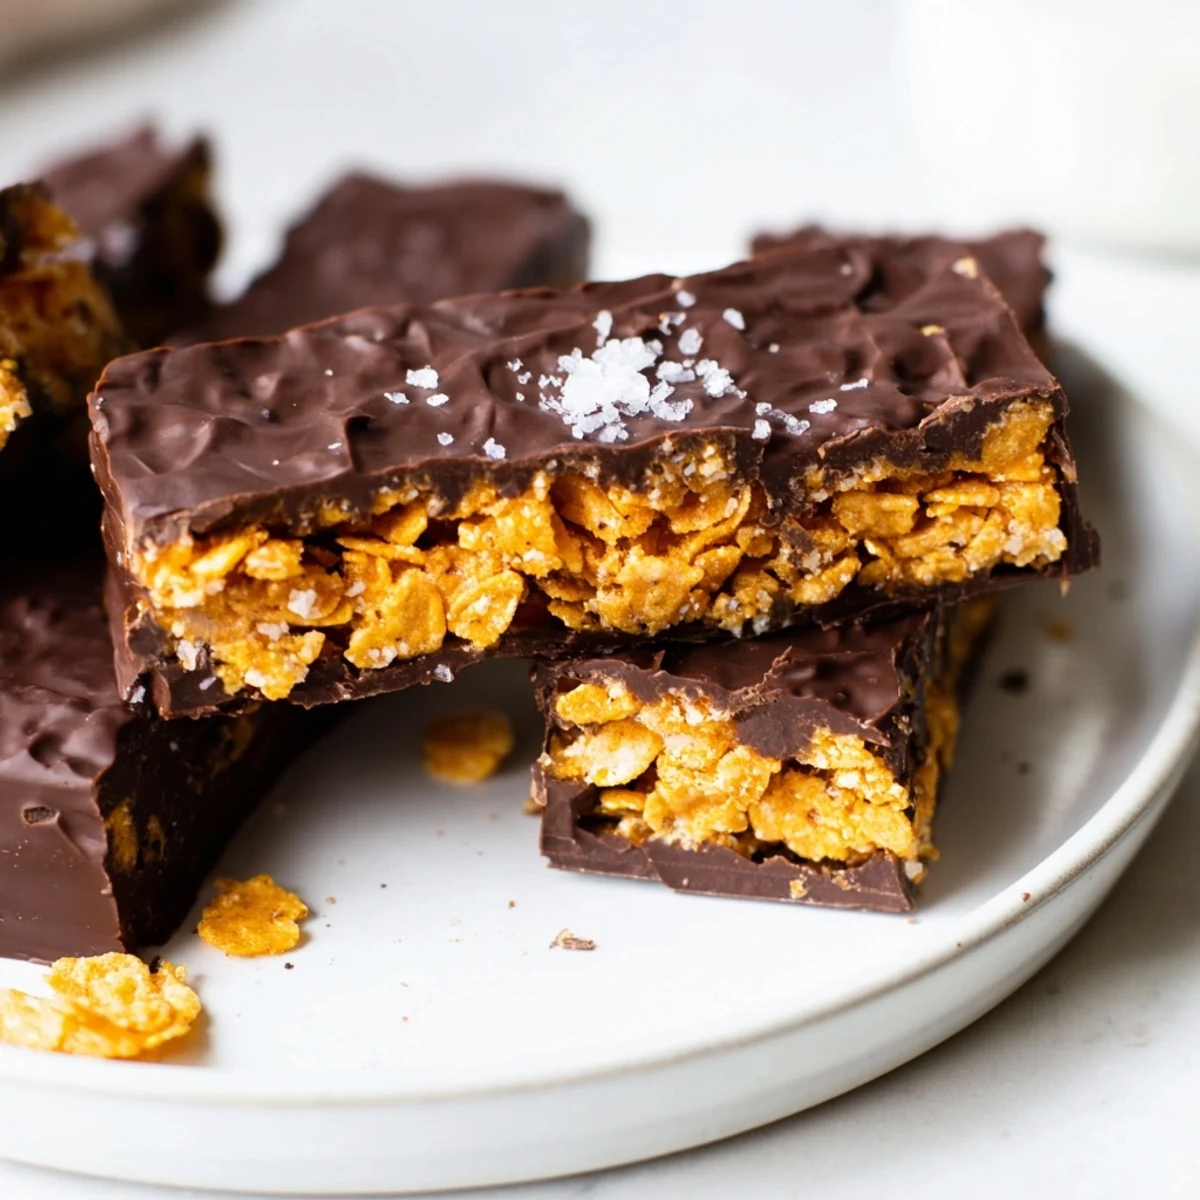
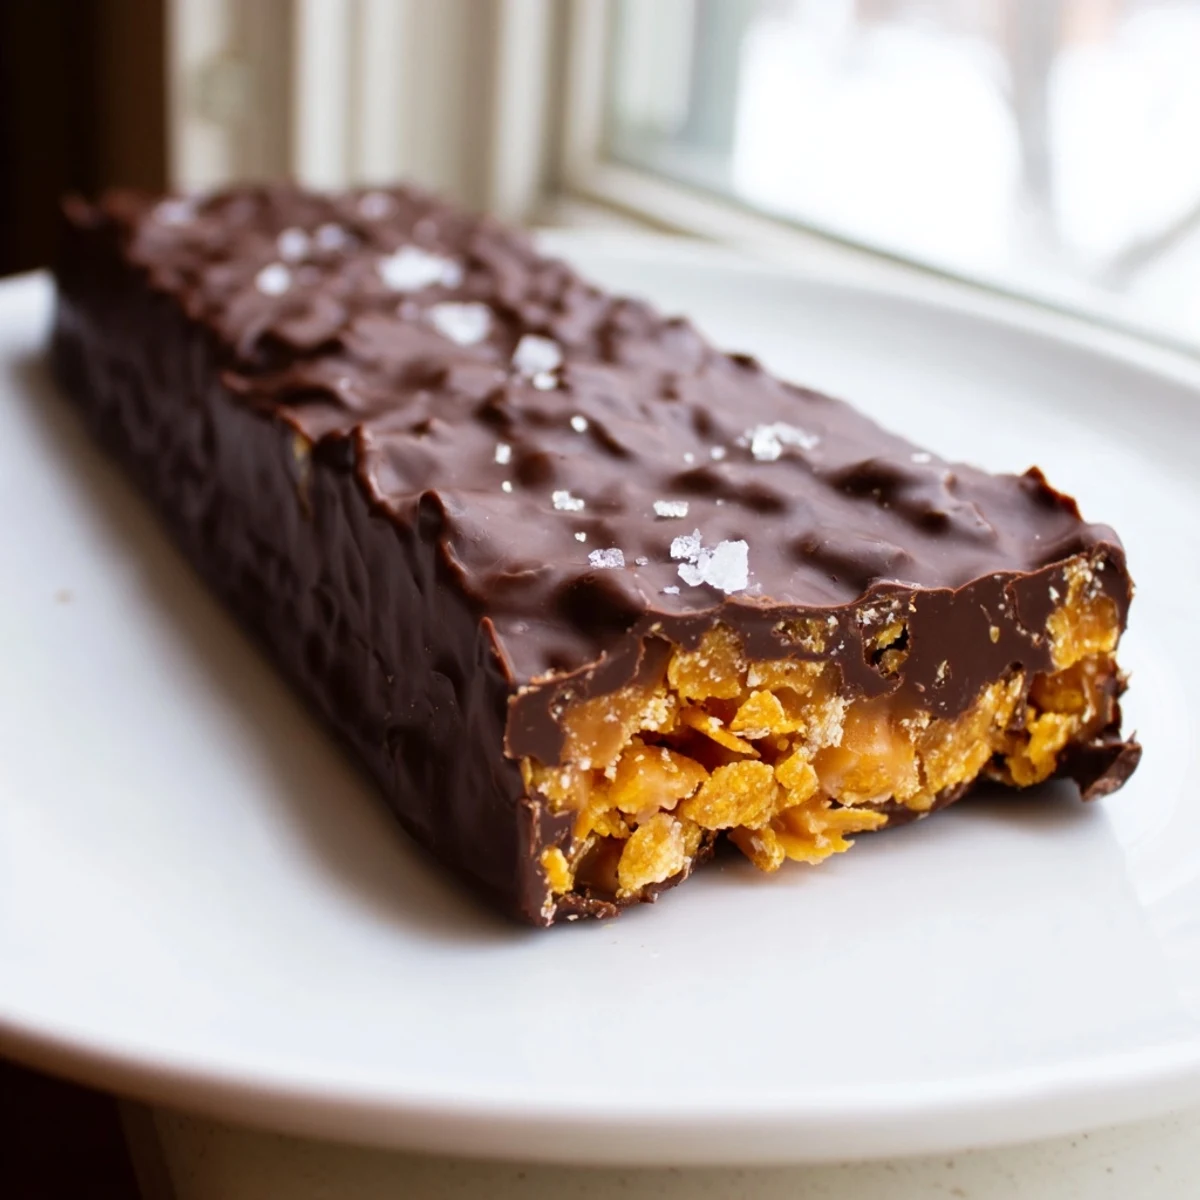
 These wholesome homemade Butterfingers deliver all the crunch and sweetness of the classic candy bar with better-for-you ingredients. A simple mixture of natural peanut butter, maple syrup, and crushed corn flakes forms the crispy center, while a generous coating of dark chocolate adds richness.
Ready in about an hour including chilling time, they require no baking and come together with just a saucepan and a mixing bowl. Each bar clocks in at 180 calories, making them a smarter way to satisfy your sweet tooth.
They're naturally vegetarian and gluten-free when you choose certified corn flakes, and easily adapted to vegan by using maple syrup and dairy-free chocolate.
The candy aisle at the grocery store used to call my name every single checkout trip, and Butterfingers were always the ones I could not resist. That crackly peanut butter center shattering under a layer of chocolate got me every time. But the ingredient list on the back of the wrapper eventually made me put the bar back on the shelf for good. Turns out, recreating that same crunchy magic at home with a handful of real ingredients is shockingly simple.
I brought a plate of these to a movie night at a friends house, fully expecting them to sit untouched next to the store bought snacks. Within twenty minutes the plate was empty and three people were asking for the recipe. My friend Marcus actually held up his phone and said he was going to film me making them next time, which of course never happened, but the compliment stuck with me.
Ingredients
- Natural creamy peanut butter (1 cup): Use the kind with just peanuts and salt on the label, nothing else, because added oils make the mixture greasy instead of setting firm.
- Pure maple syrup or honey (1/2 cup): Maple syrup keeps the bars vegan and adds a warm round sweetness that pairs beautifully with dark chocolate.
- Corn flakes (2 cups, lightly crushed): Do not crush them into dust, just break them up a bit so they still have some structure to create that classic crunch.
- Dark chocolate chips (1 1/2 cups, at least 70% cacao): High quality dark chocolate balances the sweetness of the filling and gives you that satisfying snap when you bite in.
- Coconut oil (1 tablespoon): This thins the chocolate slightly so it coats evenly and dries with a glossy, professional looking finish.
Instructions
- Prep your pan:
- Line an 8x8 inch baking dish with parchment paper, leaving enough hanging over the edges to lift the whole slab out later like a handle.
- Melt the base:
- In a medium saucepan over low heat, stir the peanut butter and maple syrup together constantly for about two to three minutes until everything is smooth and melted, and your kitchen smells incredible.
- Fold in the crunch:
- Take the pan off the heat immediately and gently fold in the crushed corn flakes with a spatula, pressing softly so you coat every flake without crushing them further.
- Press and freeze:
- Transfer the mixture into your prepared dish and press it down firmly and evenly with your hands or the back of a spoon, then slide it into the freezer for twenty to thirty minutes until completely firm.
- Melt the chocolate:
- Set up a double boiler by placing a heatproof bowl over a pan of gently simmering water, then stir the chocolate chips and coconut oil together until the mixture is completely smooth and shiny.
- Cut and dip:
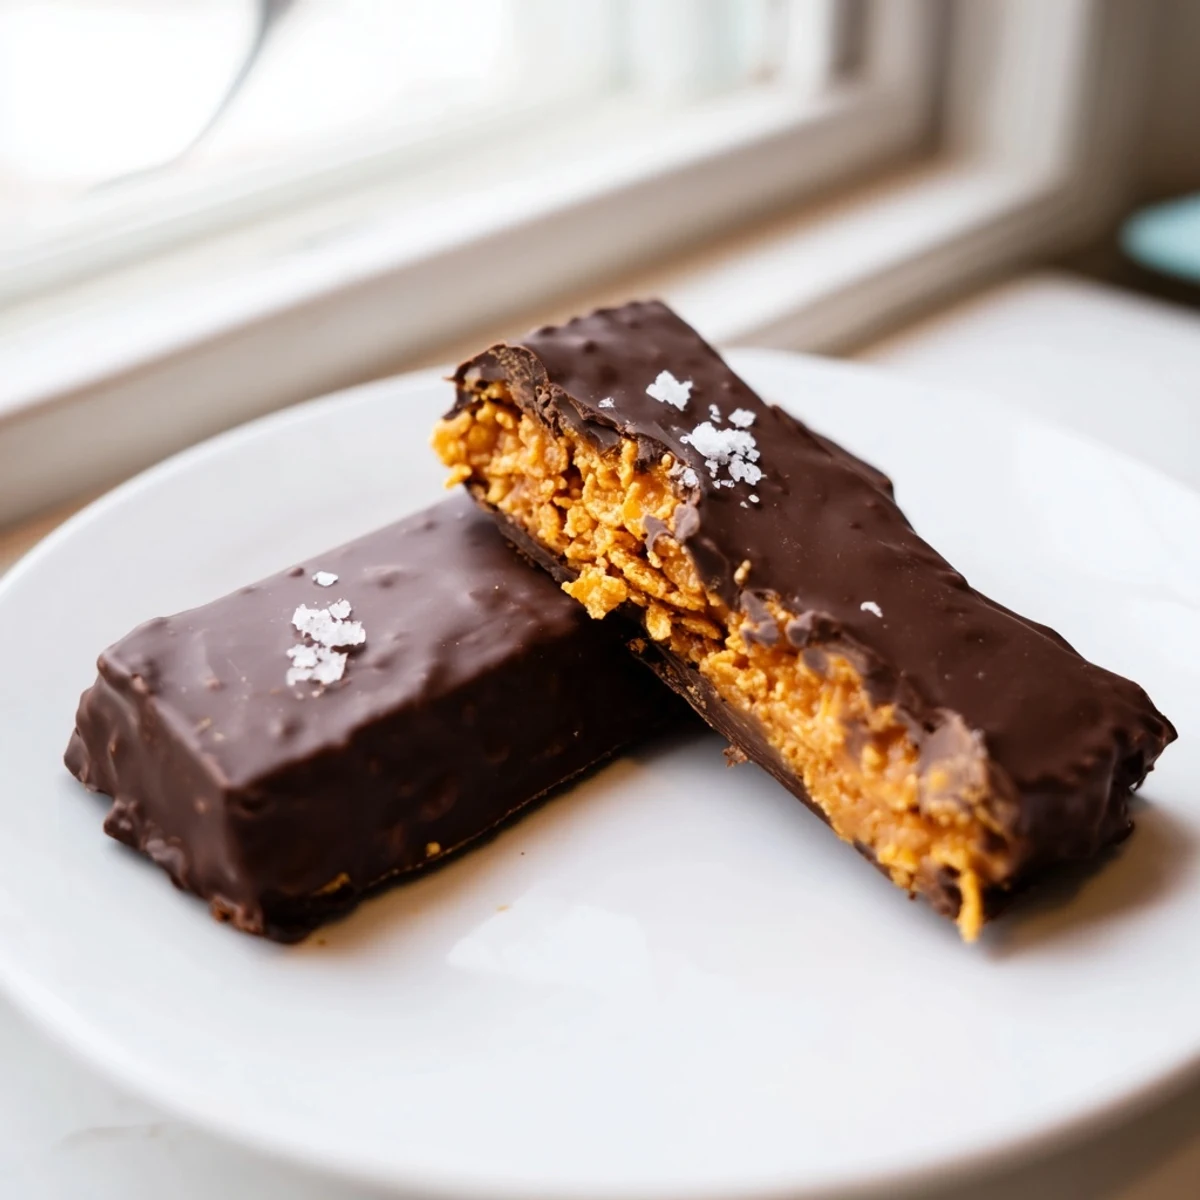
- Remove the frozen peanut butter slab from the dish using the parchment overhang, cut it into twelve bars, then dip each one into the chocolate using a fork, tapping gently to let the excess drip off before placing them on a parchment lined tray.
- Chill until set:
- Refrigerate the coated bars for at least twenty minutes until the chocolate shell is firm to the touch and snaps slightly when you press your fingernail into it.
 Pin it
 The moment these bars became more than just a treat was when my niece, who usually turns her nose up at anything labeled healthy, asked if she could take two home in her backpack. She called them restaurant candy, which I am choosing to take as the highest possible compliment.
Swaps and Substitutions
Almond butter works beautifully in place of peanut butter if you need a peanut free version, though the flavor will be slightly more delicate. Sunflower seed butter is another great option and keeps the bars school safe for nut free lunchrooms. Just keep in mind that sunflower seed butter can sometimes turn slightly green when baked or frozen with baking soda, but that will not happen here since there is no leavening involved.
Storing Your Candy Bars
These bars need to live in the refrigerator in an airtight container, and they stay delicious for up to a week. You can absolutely freeze them for longer storage, layered between sheets of parchment so they do not stick together. I actually prefer them straight from the freezer because the chocolate gets even snappier and the filling firms up into something dangerously close to the real candy bar texture.
A Few Last Thoughts
Before you start, make sure your saucepan is completely dry because even a drop of water will make your chocolate seize into a grainy clump. Trust your instincts with the corn flake crushing, you want texture, not powder.
- A sprinkle of flaky sea salt on top of each bar right after dipping takes them from homemade to bakery level.
- If the chocolate starts to thicken while you are dipping, just pop the bowl back over the simmering water for thirty seconds.
- These make excellent gifts when wrapped individually in small squares of parchment and tied with kitchen twine.
 Pin it
 Every time I make these, I wonder why I ever bought the packaged version. They take less than an hour and taste like something you would find in a little artisan chocolate shop on a side street you almost walked past.
Recipe Q&A
- → Can I use a different nut butter instead of peanut butter?
-
Yes, almond butter or sunflower seed butter both work well as peanut-free alternatives. Keep in mind that softer butters may require a slightly longer freeze time to firm up before dipping in chocolate.
- → How should I store leftover Butterfinger bars?
-
Store the bars in an airtight container in the refrigerator for up to one week. For longer storage, freeze them for up to two months. Let frozen bars thaw in the fridge for about 30 minutes before enjoying.
- → What type of chocolate works best for the coating?
-
Dark chocolate with at least 70% cacao provides the best flavor contrast against the sweet peanut butter filling. The coconut oil helps thin the chocolate for easier dipping and gives a smoother, snappier finish once set.
- → Can I make these completely vegan?
-
Absolutely. Use maple syrup instead of honey and choose a dairy-free dark chocolate. Most high-percentage dark chocolates are naturally vegan, but always check the label for milk fat or butteroil.
- → Why do my corn flakes need to be lightly crushed?
-
Lightly crushing the corn flakes creates smaller pieces that distribute evenly throughout the peanut butter mixture, giving you a consistent crunch in every bite. Whole flakes can make the bars difficult to cut and cause the chocolate coating to crack.
- → Do I need to keep these refrigerated before serving?
-
It's best to serve them chilled or at cool room temperature. The peanut butter center softens quickly at warm temperatures, which can cause the chocolate coating to separate. If you're serving at a gathering, keep them on a chilled platter.