 Pin it
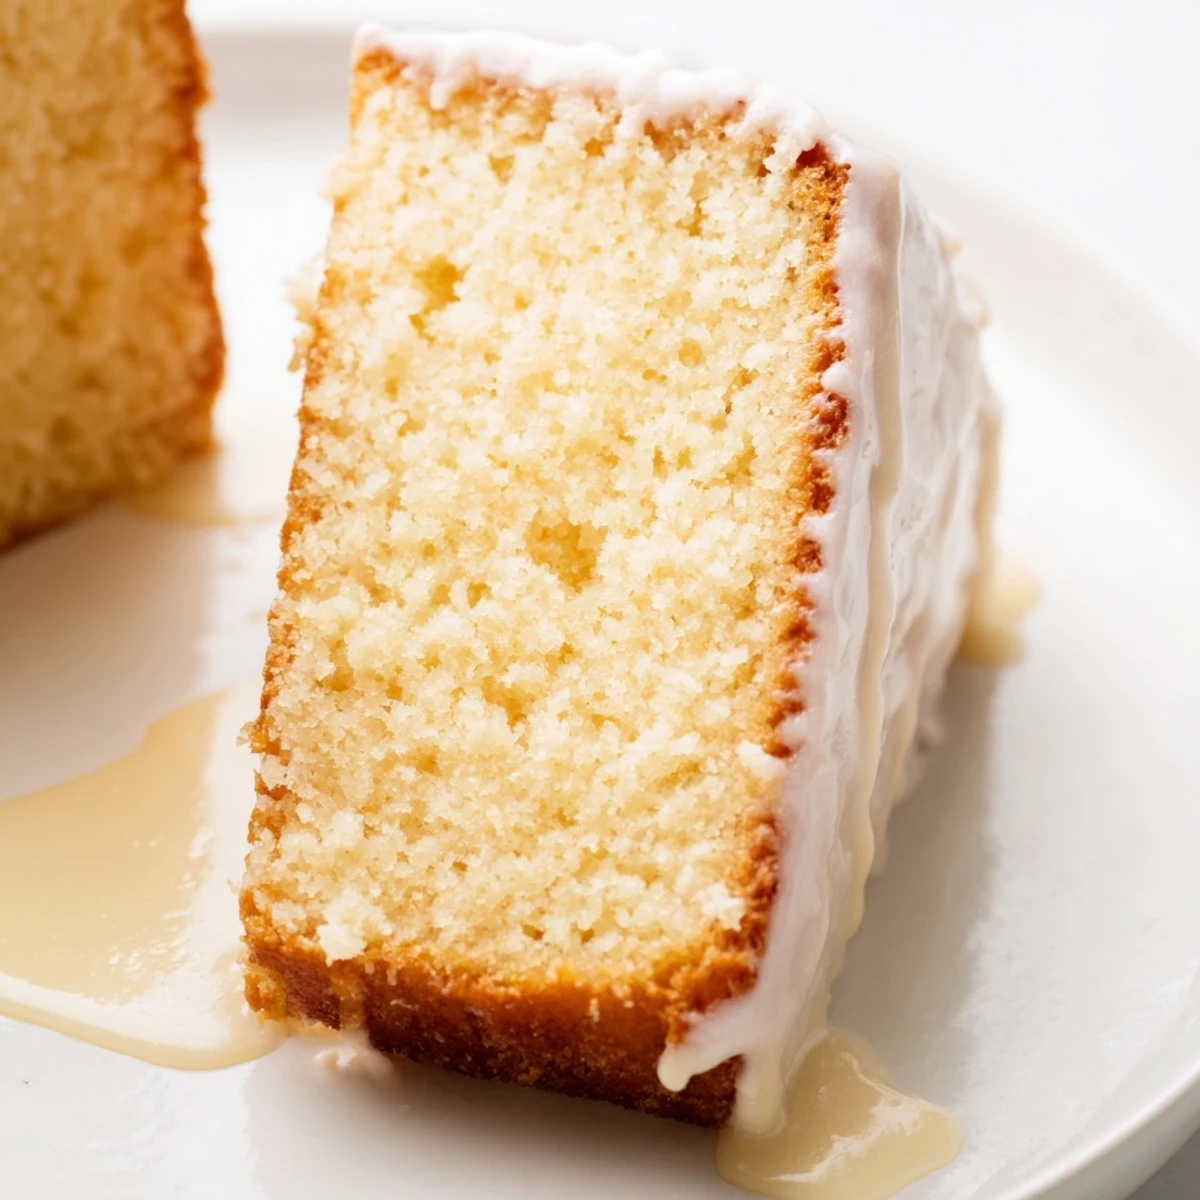
 This classic American dessert brings together simple pantry ingredients to create a wonderfully moist and tender vanilla sponge. The cake features a delicate crumb structure achieved through the buttermilk and creaming method, while the sweet vanilla glaze adds the perfect finishing touch.
What makes this particular cake special is its crowd-friendly nature—baked in a 9x13 inch pan, it yields twelve generous servings and travels well to potlucks, church suppers, and family gatherings. The straightforward preparation comes together in under an hour, making it accessible for bakers of all skill levels.
The buttermilk ensures exceptional moisture and tenderness, while the proper creaming technique creates a light, fluffy texture. This versatile dessert welcomes variations like citrus zest or chopped nuts, though the classic vanilla version remains beloved for its comforting simplicity and universal appeal.
There was something magical about walking into the church fellowship hall and seeing three identical 9x13 pans lined up on the folding tables, each with that same fingerprint-dented glaze pattern. Every church grandmother had her version, but they all produced that same impossibly moist crumb that somehow survived sitting out through two hours of potluck chaos. I finally cornered Mrs. Higgins after the annual spring picnic, and she laughed while admitting the real secret was room temperature everything and never overmixing.
My first attempt ended up dense because I creamed the butter and sugar into a sad pale mash instead of the fluffy cloud Mrs. Higgins described. She stood in my kitchen doorway watching me try again, pointing out exactly when the mixture hit that transformation point where it looked like whipped cream. That tiny detail changed everything about how I approach cakes now.
Ingredients
- All purpose flour: The backbone structure, but spoon and level it instead of scooping directly to avoid packing
- Baking powder and soda: This double agent combination gives the lift without any metallic aftertaste
- Salted butter: Use softened butter that yields to gentle finger pressure but still holds its shape
- Granulated sugar: Cream this thoroughly with butter for those signature tender crumbs
- Large eggs: Room temperature eggs incorporate better and help create proper structure
- Vanilla extract: Do not skip or substitute here, pure extract makes all the difference
- Buttermilk: The acid tenderizes the gluten while creating that moist interior
- Powdered sugar: Sift before making glaze to avoid any lumps in the finish
- Milk: Start with two tablespoons and add more to reach your desired glaze consistency
Instructions
- Getting Everything Ready:
- Preheat your oven to 350°F and generously grease a 9x13 inch pan, getting into all the corners
- Whisking The Dry Team:
- In a medium bowl, combine flour with baking powder, baking soda, and salt until everything is evenly distributed
- Creating The Fluffy Base:
- Beat butter and sugar together for a full 3 minutes until it is pale, fluffy, and noticeably increased in volume
- Adding The Eggs:
- Drop in eggs one at a time, beating completely after each addition before scraping down the bowl
- Bringing It Together:
- Alternate adding flour mixture and buttermilk in three parts, starting and ending with flour, mixing only until you no longer see dry streaks
- The Bake:
- Spread batter evenly and bake for 30 to 35 minutes until the top springs back when gently pressed
- Patience While Cooling:
- Let the cake rest in the pan for 15 minutes before moving it to a wire rack to cool completely
- The Finishing Touch:
- Whisk powdered sugar with milk and vanilla until smooth, then drizzle slowly back and forth over the cooled cake
 Pin it
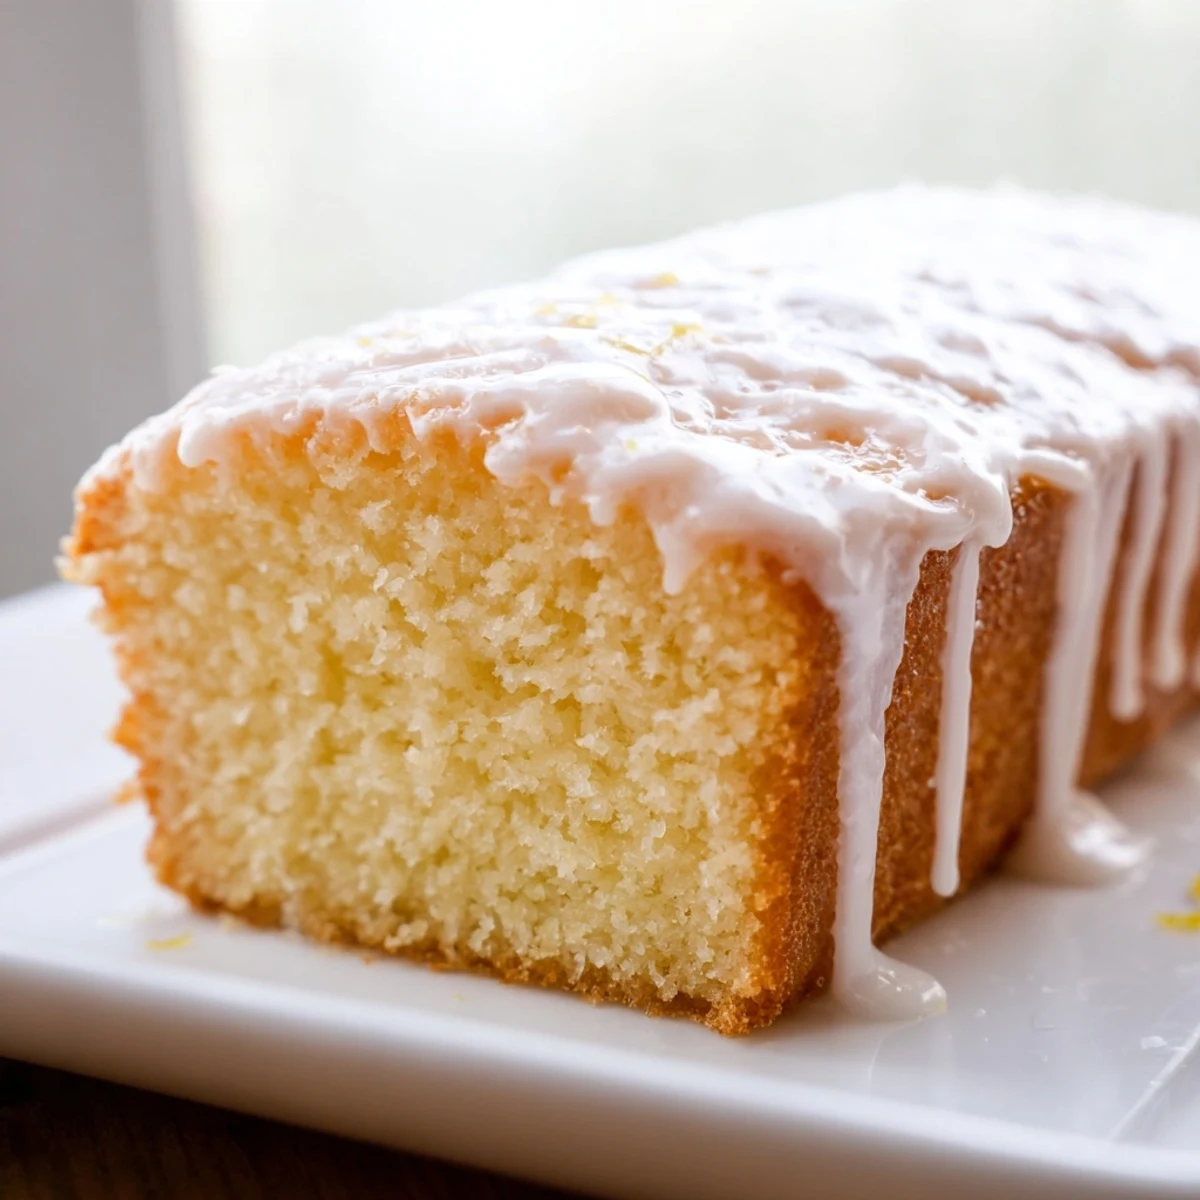
 This cake showed up at every family function for three generations, always appearing with that same humble presentation but disappearing first from the dessert table. My daughter requested it for her birthday instead of something fancy, saying it tasted like home in a way store cakes never could.
Making It Ahead
The bare cake keeps beautifully wrapped in plastic at room temperature for two days, but freeze it if you need more time. Thaw completely before adding the glaze, otherwise moisture will make the frosting run right off the edges.
Serving Suggestions
Slice this into neat squares and arrange on a platter with some fresh berries for color contrast. A pot of strong coffee or hot tea alongside makes the simple vanilla flavor sing even more.
Easy Variations
Fold in fresh berries or chocolate chips after the batter is mixed for extra interest in every bite. A tablespoon of citrus zest brightens everything without overpowering the classic vanilla profile that makes this cake so beloved.
- Add lemon or orange zest to the batter for a subtle citrus note
- Toast chopped pecans and fold them into the batter for crunch
- Replace some vanilla extract with almond extract for a different flavor twist
 Pin it
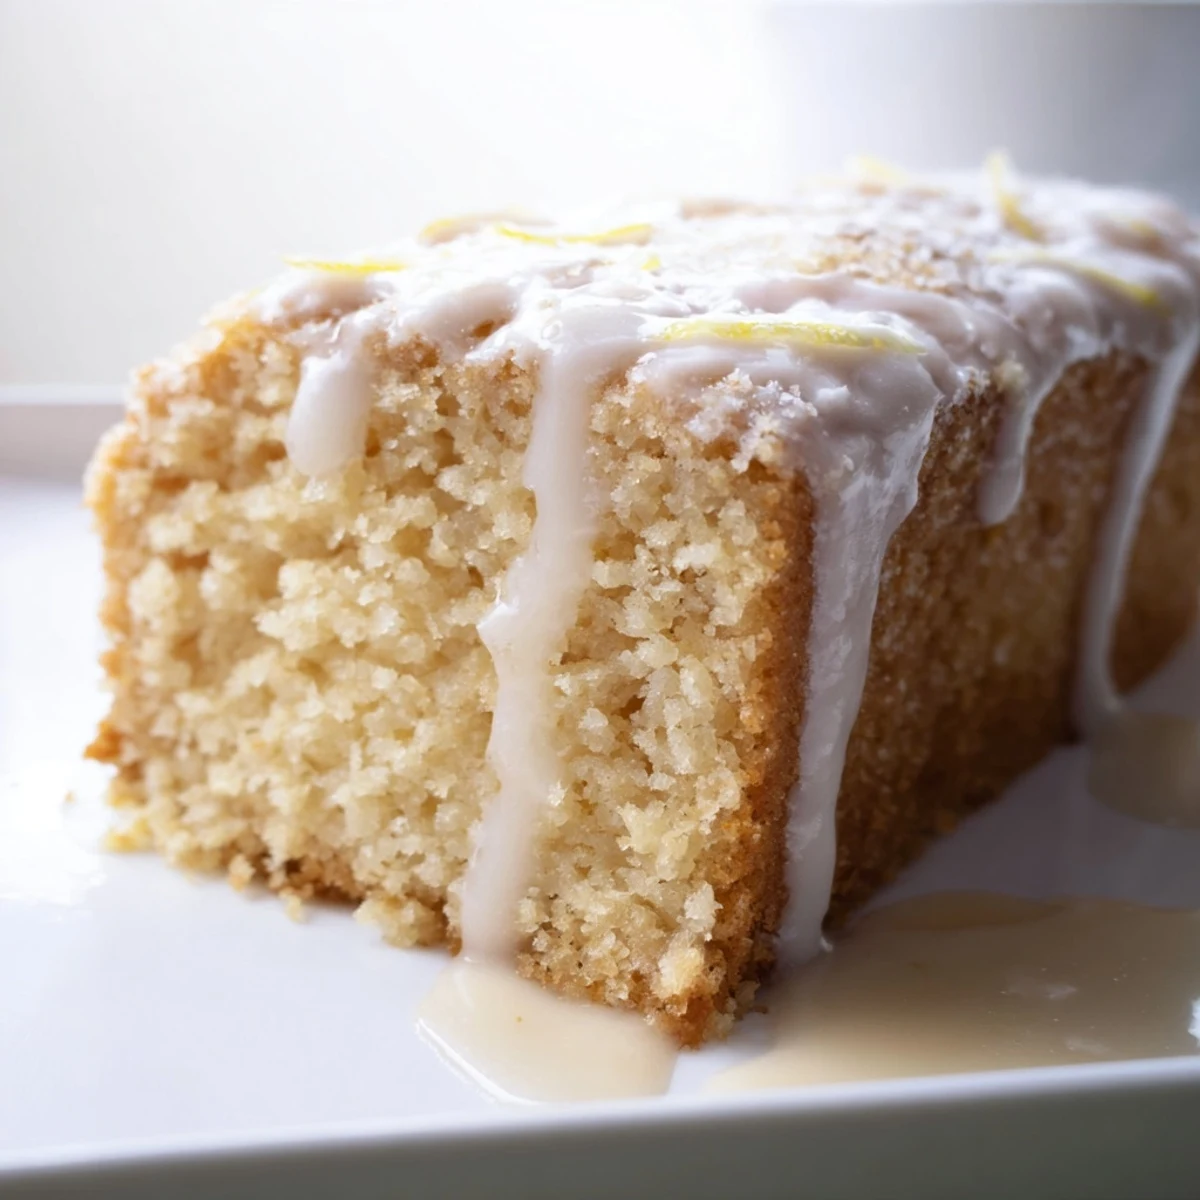
 There is comfort in a recipe that never tries too hard but always delivers exactly what you need. This cake has seen more celebrations and quiet moments than I can count.
Recipe Q&A
- → What makes this cake so moist?
-
The combination of buttermilk and properly creamed butter creates exceptional moisture. Buttermilk's acidity tenderizes the gluten while adding tanginess, and the creaming method incorporates air for a lighter texture.
- → Can I make this ahead of time?
-
Absolutely. This cake actually improves slightly when made a day ahead, allowing flavors to develop. Wrap cooled unglazed cake tightly and store at room temperature for up to 2 days, then add glaze before serving.
- → What if I don't have buttermilk?
-
Simply combine 1 cup of regular milk with 1 tablespoon of lemon juice or white vinegar. Let it sit for 5-10 minutes until slightly thickened. This homemade alternative works beautifully in the batter.
- → Why is it called church cake?
-
The name comes from its popularity at church gatherings, potlucks, and community events. The 9x13 pan size yields generous servings perfect for feeding crowds, and the simple ingredients are pantry staples most home bakers have on hand.
- → How do I know when the cake is done baking?
-
Insert a toothpick into the center—if it comes out clean or with just a few moist crumbs, the cake is ready. The edges should pull slightly away from the pan, and the top will be golden brown. This typically takes 30-35 minutes at 350°F.
- → Can I freeze this cake?
-
Yes, freeze either the unglazed cake or individual slices. Wrap tightly in plastic wrap, then foil, and freeze for up to 3 months. Thaw overnight at room temperature before adding glaze if needed.