 Pin it
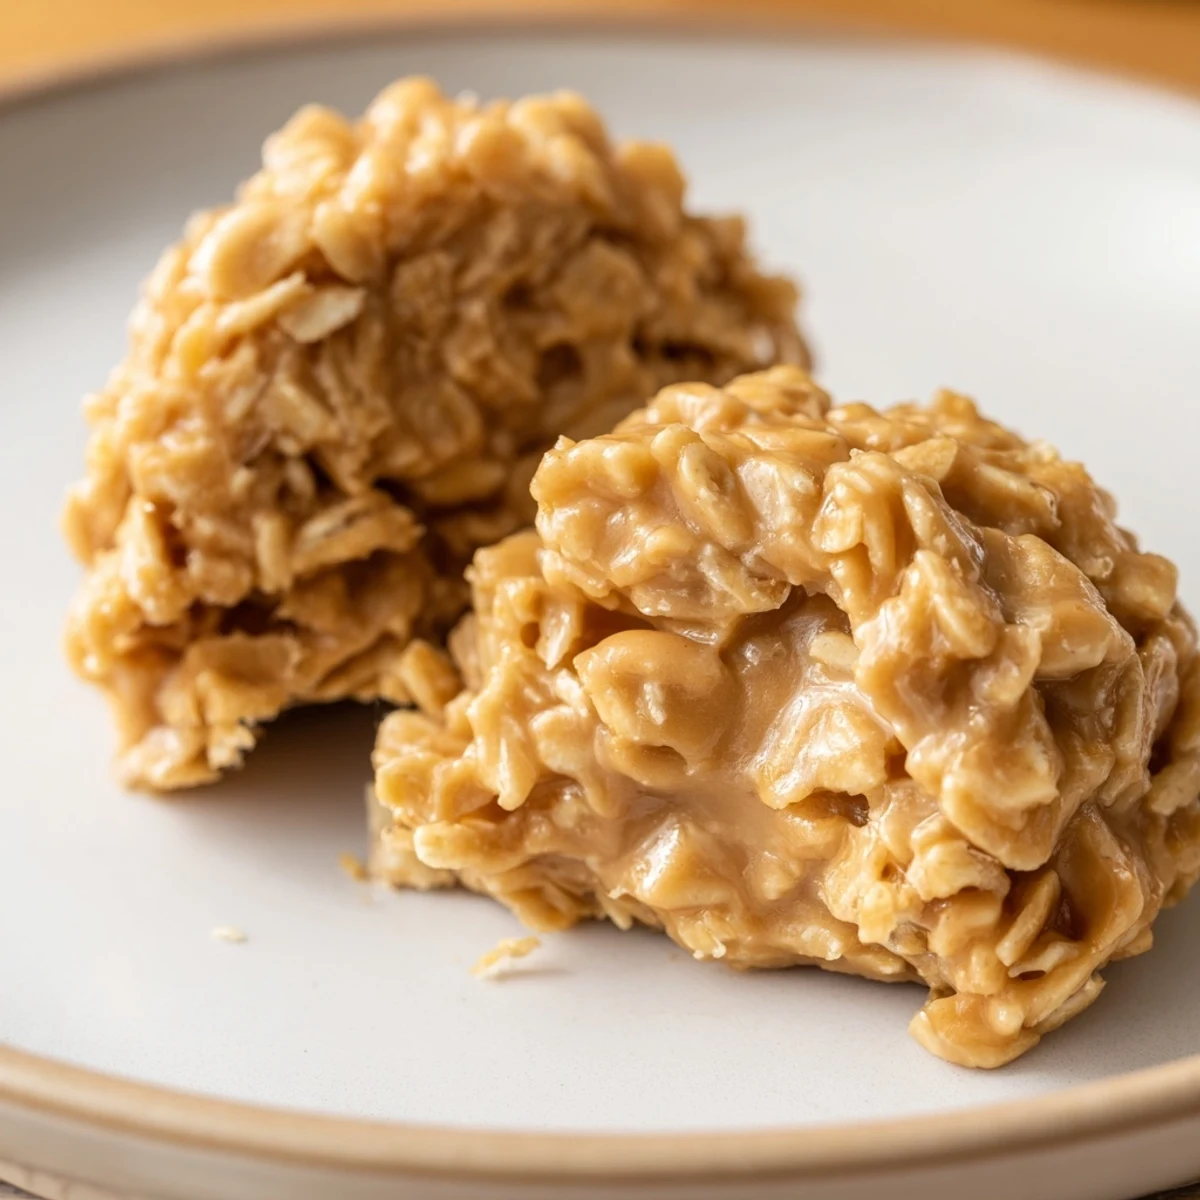
 These soft, chewy no-bake peanut butter cookies are ready in about 15–25 minutes. Melt butter with sugar and milk, bring to a gentle boil and cook for one full minute, then stir in creamy peanut butter, vanilla and quick oats. Drop spoonfuls onto parchment and let cool until set. Optional add-ins include chopped peanuts, mini chocolate chips or shredded coconut. Store airtight.
The rain was hammering against the kitchen window and the power had been out for forty minutes when my sister called, asking what she could make with butter, sugar, peanut butter, and oats. No oven, no mixer, no patience required. That phone call turned a stormy afternoon into one of the best cookie experiments my kitchen has ever seen.
I have made these for bake sales, late night cravings, and once at midnight in a friend's tiny apartment with only a saucepan and a wooden spoon. Every single time someone picks one up, they pause after the first bite and ask what the trick is. The trick is there is no trick.
Ingredients
- Unsalted butter (1/2 cup): Provides the silky base that carries all the flavor, and using unsalted lets you control the salt level.
- Granulated sugar (2 cups): This is a sweet cookie, and the sugar also helps the boiling mixture reach the right consistency for setting.
- Whole milk (1/2 cup): The fat in whole milk matters here because it creates a creamier, richer final texture.
- Creamy peanut butter (1 cup): The star of the show, so use a brand you genuinely love eating by the spoonful.
- Pure vanilla extract (2 teaspoons): Rounds out the sweetness and adds a warm, familiar backnote to every bite.
- Quick cooking oats (3 cups): These absorb the wet mixture perfectly and give the cookies their signature chewy, hearty texture.
- Salt (a pinch): Just enough to make the peanut butter sing and keep the sweetness from tipping over into cloying.
Instructions
- Prep your stations:
- Line two baking sheets with parchment paper or silicone mats so you are ready to move fast once the mixture comes together.
- Build the base:
- Melt the butter in a medium saucepan over medium heat, then stir in the sugar and milk until everything is combined and glossy.
- Let it boil:
- Bring the mixture to a gentle boil while stirring constantly, then stop stirring and let it cook for exactly one full minute.
- Add the magic:
- Pull the pan off the heat immediately and stir in the peanut butter, vanilla, and salt until the mixture is completely smooth and smells incredible.
- Fold in the oats:
- Work quickly here, folding the oats in with a sturdy spoon until every flake is coated and the mixture looks thick and fudgy.
- Scoop and shape:
- Use a tablespoon or small cookie scoop to drop portions onto your prepared sheets, leaving a little room for each to settle.
- Let them set:
- Leave the cookies alone at room temperature for about ten to fifteen minutes until they firm up and hold their shape beautifully.
- Store smart:
- Once hardened, tuck them into an airtight container where they will stay soft and chewy for days.
 Pin it
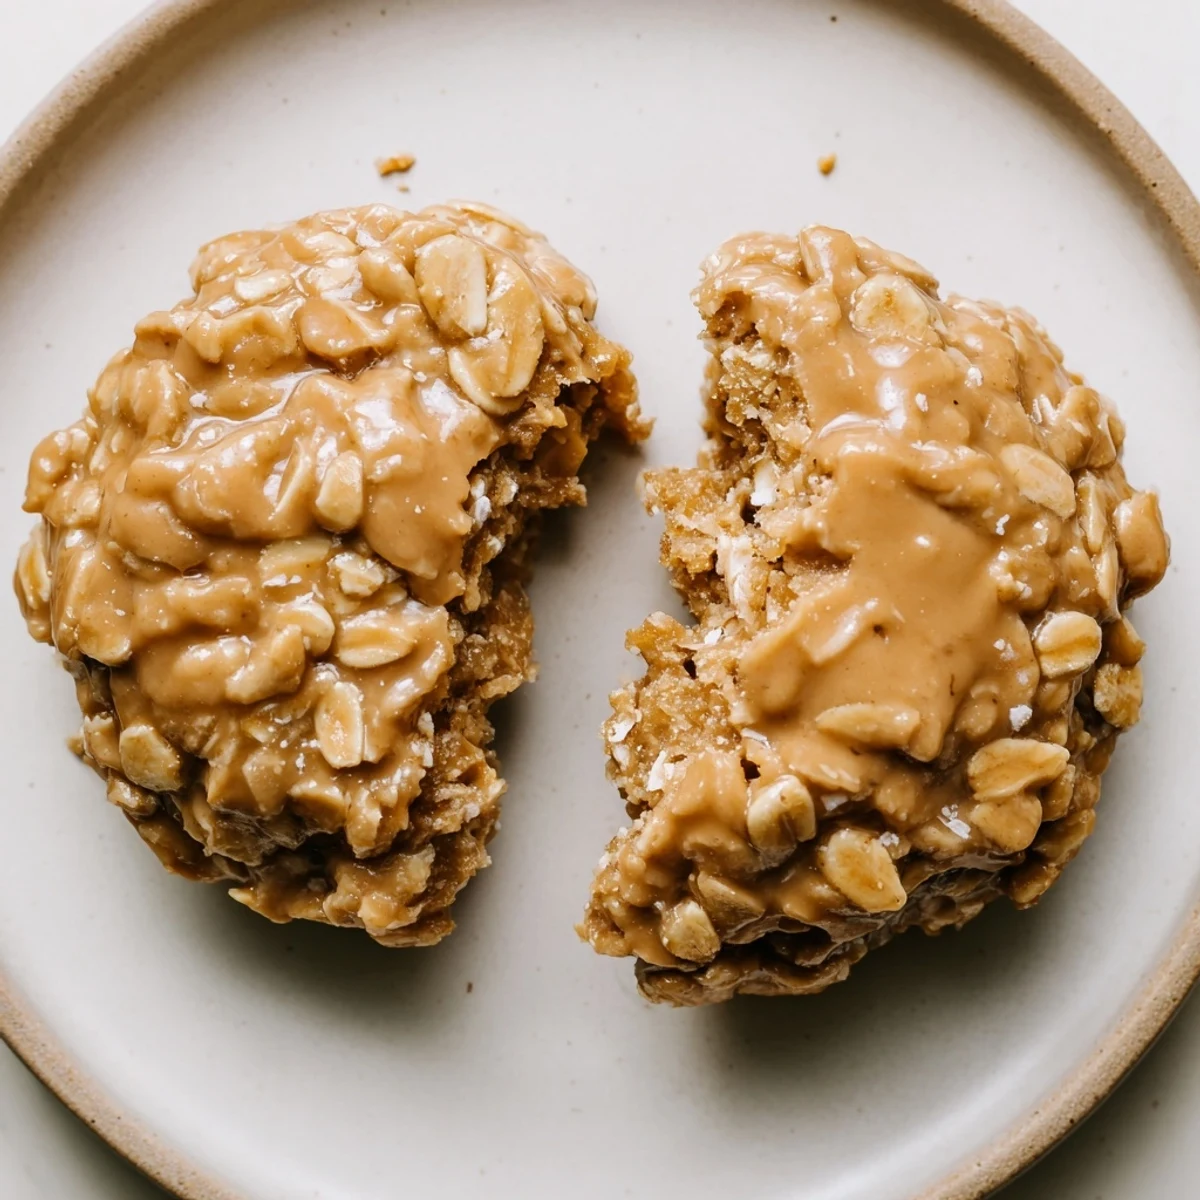
 There is something deeply satisfying about making cookies without ever turning on the oven. It feels like you have outsmarted the entire concept of baking.
Variations Worth Trying
Swap in crunchy peanut butter or fold in half a cup of chopped peanuts if you want a more textured, rustic cookie. A handful of mini chocolate chips scattered in at the very end adds little pockets of sweetness that melt against the peanut butter. Shredded coconut is another unexpected addition that toasts slightly in the residual heat and brings a subtle tropical note.
What You Need on Hand
A medium saucepan, a wooden spoon or silicone spatula, measuring cups and spoons, baking sheets, and parchment paper or silicone mats are all you need. No stand mixer, no special equipment, no fancy tools. This is humble, honest cooking at its most rewarding.
Keeping Them Fresh and Safe
Store these in an airtight container at room temperature for up to five days, though in my experience they rarely last that long.
- Always check your oat labels if you need the cookies to be strictly gluten free, since cross contamination is common in processing facilities.
- These contain peanuts, milk, and potentially gluten, so label them clearly if you are sharing at a gathering.
- A quick note card with the allergen list taped to the container is a small gesture that guests always appreciate.
 Pin it
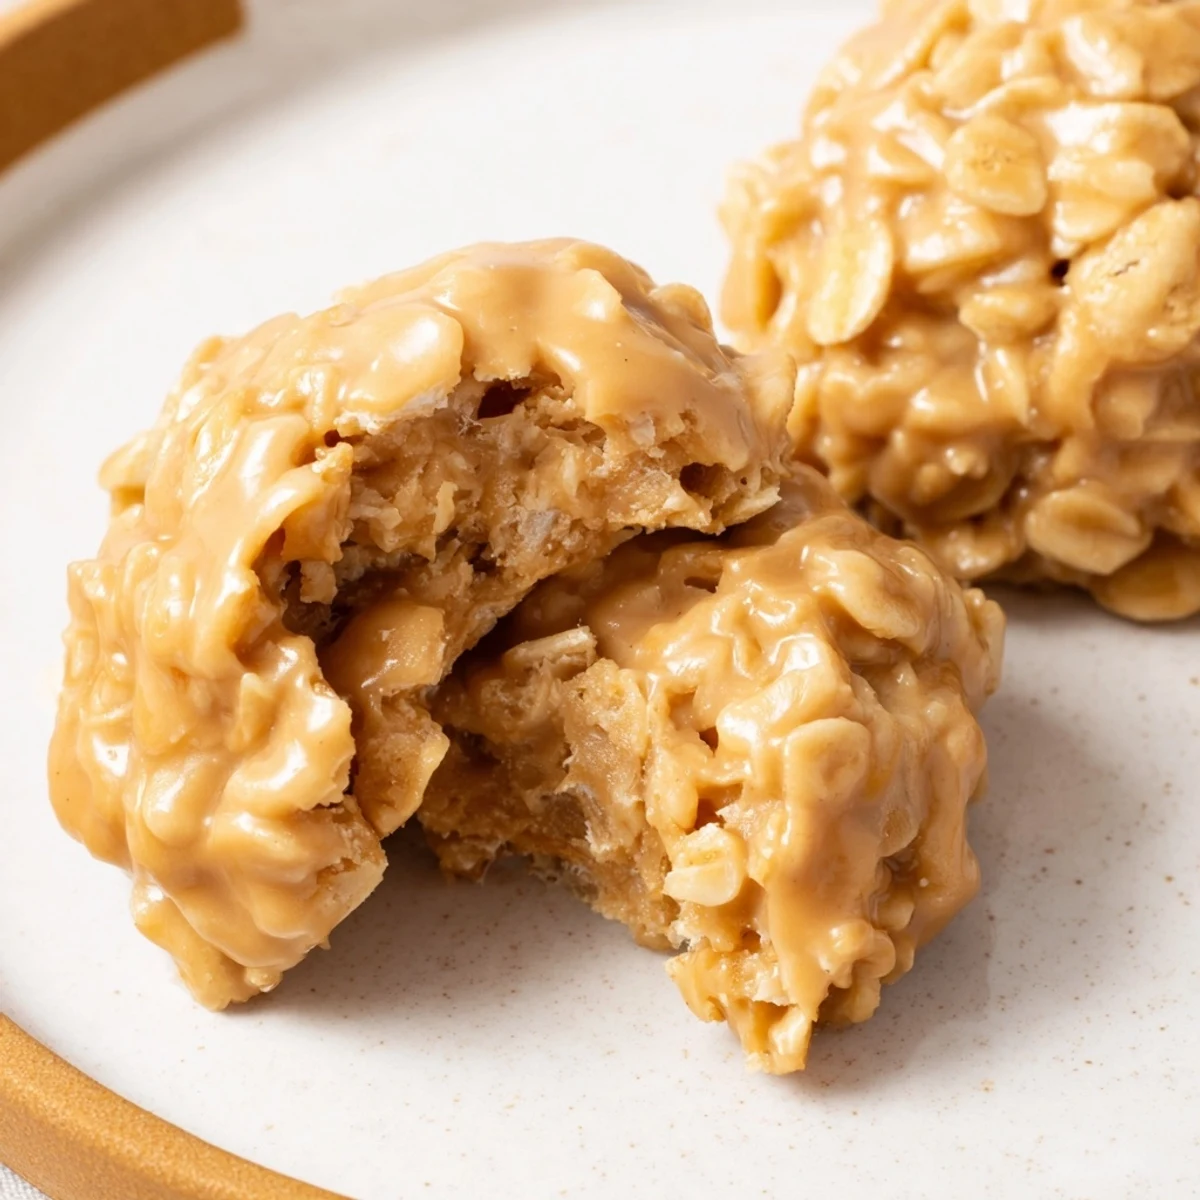
 These little cookies are proof that the best recipes do not need to be complicated to be unforgettable. Share them generously and keep the recipe close.
Recipe Q&A
- → How do I ensure the cookies set properly?
-
Bring the butter-sugar-milk mixture to a gentle boil and let it cook for the full minute without stirring; that concentrated heat is what helps the oat clusters firm up as they cool.
- → Can I use old-fashioned rolled oats instead of quick oats?
-
Yes, use rolled oats for a chewier, heartier texture, but you may need to break them slightly or pulse once in a food processor so the mixture binds more evenly.
- → What storage method keeps them best?
-
Once fully cooled and set, store the cookies in an airtight container at room temperature for up to a week. Layer with parchment to prevent sticking.
- → How can I make them gluten-free?
-
Choose certified gluten-free oats and verify that other packaged ingredients (like peanut butter) have no cross-contamination warnings to keep the batch gluten-free.
- → Will crunchy peanut butter work?
-
Yes—using crunchy peanut butter adds texture; alternatively fold in up to 1/2 cup chopped peanuts for extra crunch without changing the method.
- → Can I swap milk for a dairy-free alternative?
-
You can use a full-fat plant milk (such as oat or canned coconut milk) for a dairy-free version; note slight flavor and texture changes may occur but the setting method remains the same.