 Pin it
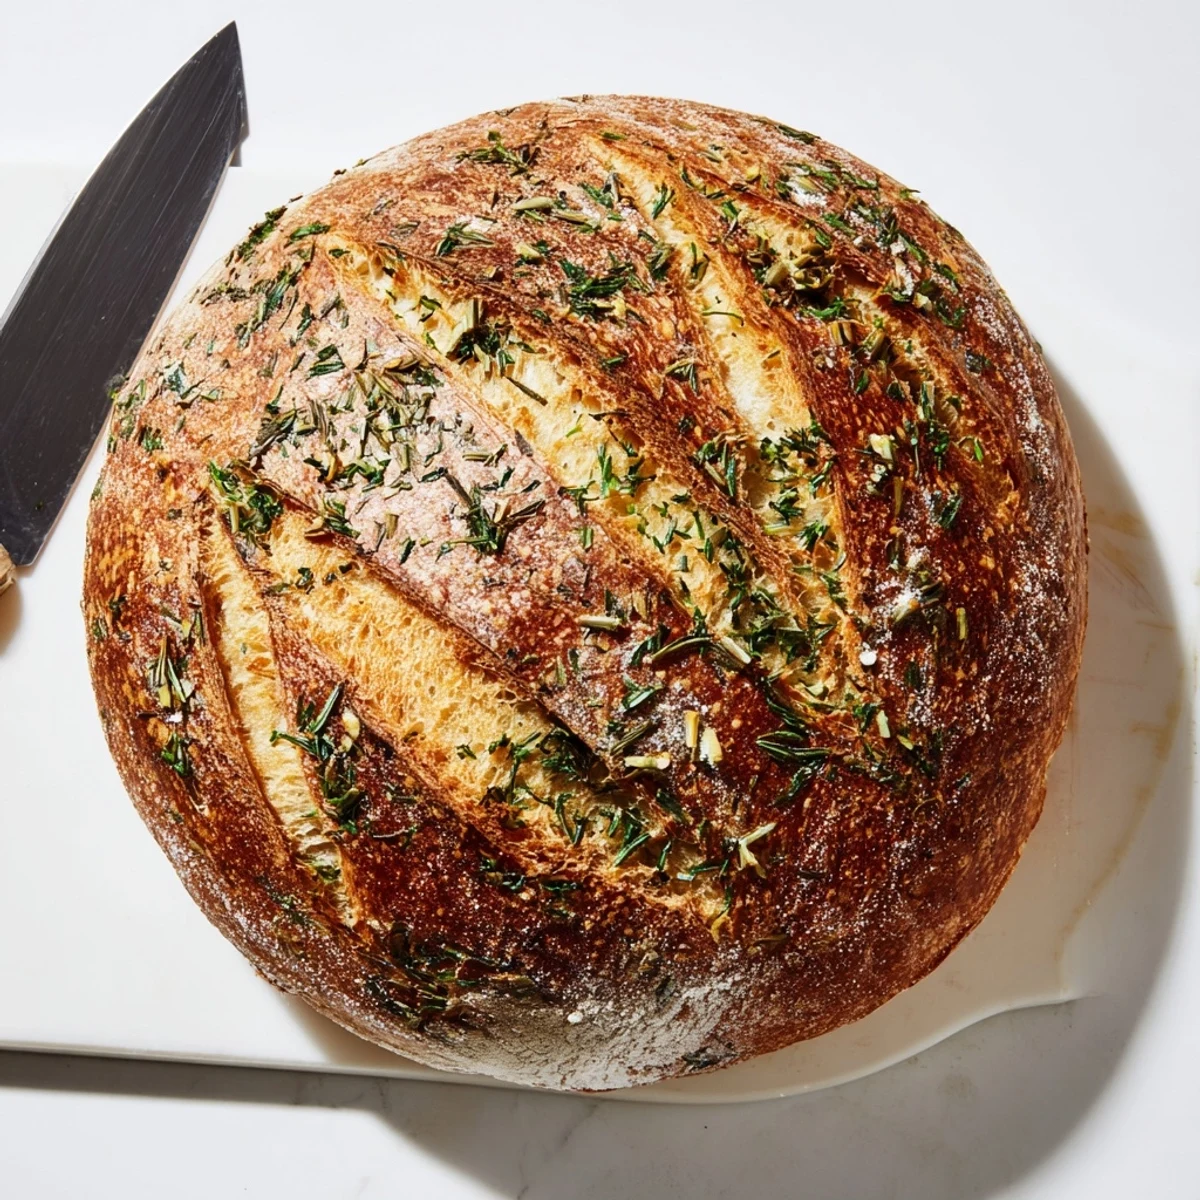
 This artisan-style loaf combines aromatic garlic with fresh rosemary, thyme, and parsley, creating a fragrant bread perfect for any meal. The Dutch oven method produces professional bakery results at home—thick crispy crust with a soft, airy interior.
Mixing takes just minutes, then let the dough rise naturally before baking. The high-heat Dutch oven technique creates steam, ensuring beautiful oven spring and that coveted crackly crust. Brush with melted butter at the end for extra flavor and shine.
Slice thick for toast, sandwiches, or serve alongside soups and salads. The vegetarian loaf keeps well for days and freezes beautifully for later enjoyment.
My apartment smelled like an Italian grandmother's kitchen for three days after I first attempted this bread. I'd been intimidated by Dutch oven baking for years, convinced it required some ancient bread making wisdom I hadn't inherited. Then one rainy Sunday, I just went for it, garlic cloves and all. The moment I lifted that lid and saw the golden crust, I knew I'd never go back to store bought again.
I served this loaf at my first dinner party after moving into a new place, fresh from the oven with butter still glistening on top. My friend Sarah took one bite and actually moaned, then asked if I'd been secretly taking bread classes. We devoured the entire thing standing around the kitchen island, barely letting it cool enough to slice. Now it's the only bread I make for guests, because nothing breaks the ice like tearing into warm, herb filled carbs together.
Ingredients
- Bread flour: This higher protein flour creates the structure and chew that makes artisan bread so satisfying, though all purpose works in a pinch
- Salt: Don't be tempted to reduce this, salt is what makes all those garlic and herb flavors really sing
- Sugar: Just a touch helps feed the yeast and gives the crust that beautiful golden color
- Active dry yeast: Make sure your water is warm to the touch, not hot, or you'll kill these little organisms before they can work their magic
- Warm water: The temperature should feel like a comfortably warm bath, around 110°F if you're using a thermometer
- Olive oil: This keeps the dough tender and adds a subtle fruity note that complements the garlic perfectly
- Garlic cloves: Fresh minced garlic disperses throughout the dough, creating pockets of intense flavor in every bite
- Fresh rosemary: Piney and aromatic, this herb holds up beautifully to baking and adds that rustic Mediterranean feel
- Fresh thyme: Earthy and slightly floral, thyme balances the pungent garlic with a gentle, savory sweetness
- Fresh parsley: Bright and fresh, parsley lightens up all those heavy, warm flavors and adds a pop of green color
- Melted butter: Brushing this on right after baking gives the crust an irresistible sheen and an extra layer of richness
Instructions
- Mix the dry foundation:
- In a large mixing bowl, combine the bread flour, salt, and sugar, then stir in the yeast until everything is evenly distributed. This simple step prevents the salt from killing the yeast and ensures a uniform rise.
- Bring the dough together:
- Pour in the warm water and olive oil, mixing with a wooden spoon until a shaggy, sticky dough forms. Don't be tempted to add more flour, that sticky texture is exactly what will give you those beautiful air pockets later.
- Infuse with flavor:
- Add the minced garlic and chopped herbs, stirring until they're evenly incorporated throughout the dough. The garlic will mellow slightly as it bakes, but those fresh herbs will intensify in the oven's heat.
- Let it rise:
- Cover the bowl with plastic wrap or a damp towel and let it rest at room temperature for about 2 hours. You'll know it's ready when the dough has doubled in size and looks puffy with small bubbles on the surface.
- Shape your loaf:
- Turn the dough onto a floured surface and gently shape it into a round loaf, tucking the edges underneath to create tension. This shaping helps the bread hold its structure in the oven and rise upward instead of spreading out.
- Rest before baking:
- Place the dough on a piece of parchment paper and cover it loosely with a towel for a 30 minute rest. This final relaxation period makes scoring easier and gives you a better oven spring.
- Preheat with purpose:
- Place your Dutch oven and its lid in the oven and preheat to 450°F for at least 30 minutes. This step is crucial, that screaming hot pot is what creates the steam that gives you that professional bakery crust.
- Transfer with confidence:
- Carefully lift the dough using the parchment paper and lower it into the hot Dutch oven, then score the top with a sharp knife. The parchment is your best friend here, letting you transfer the dough without burning your fingers or deflating it.
- Bake covered:
- Cover with the lid and bake for 30 minutes, trapping the steam that creates the crust's initial rise. This covered baking period mimics a professional steam injected oven, giving you that crackly exterior.
- Reveal and finish:
- Remove the lid and bake for another 15 to 20 minutes until the crust is a deep golden brown. Don't be afraid of a darker crust, that's where all the flavor lives.
- Finish with butter:
- Remove the bread from the Dutch oven, brush generously with melted butter, and sprinkle with extra herbs. Let it cool for at least 20 minutes if you can resist, though tearing into it warm is understandable.
 Pin it
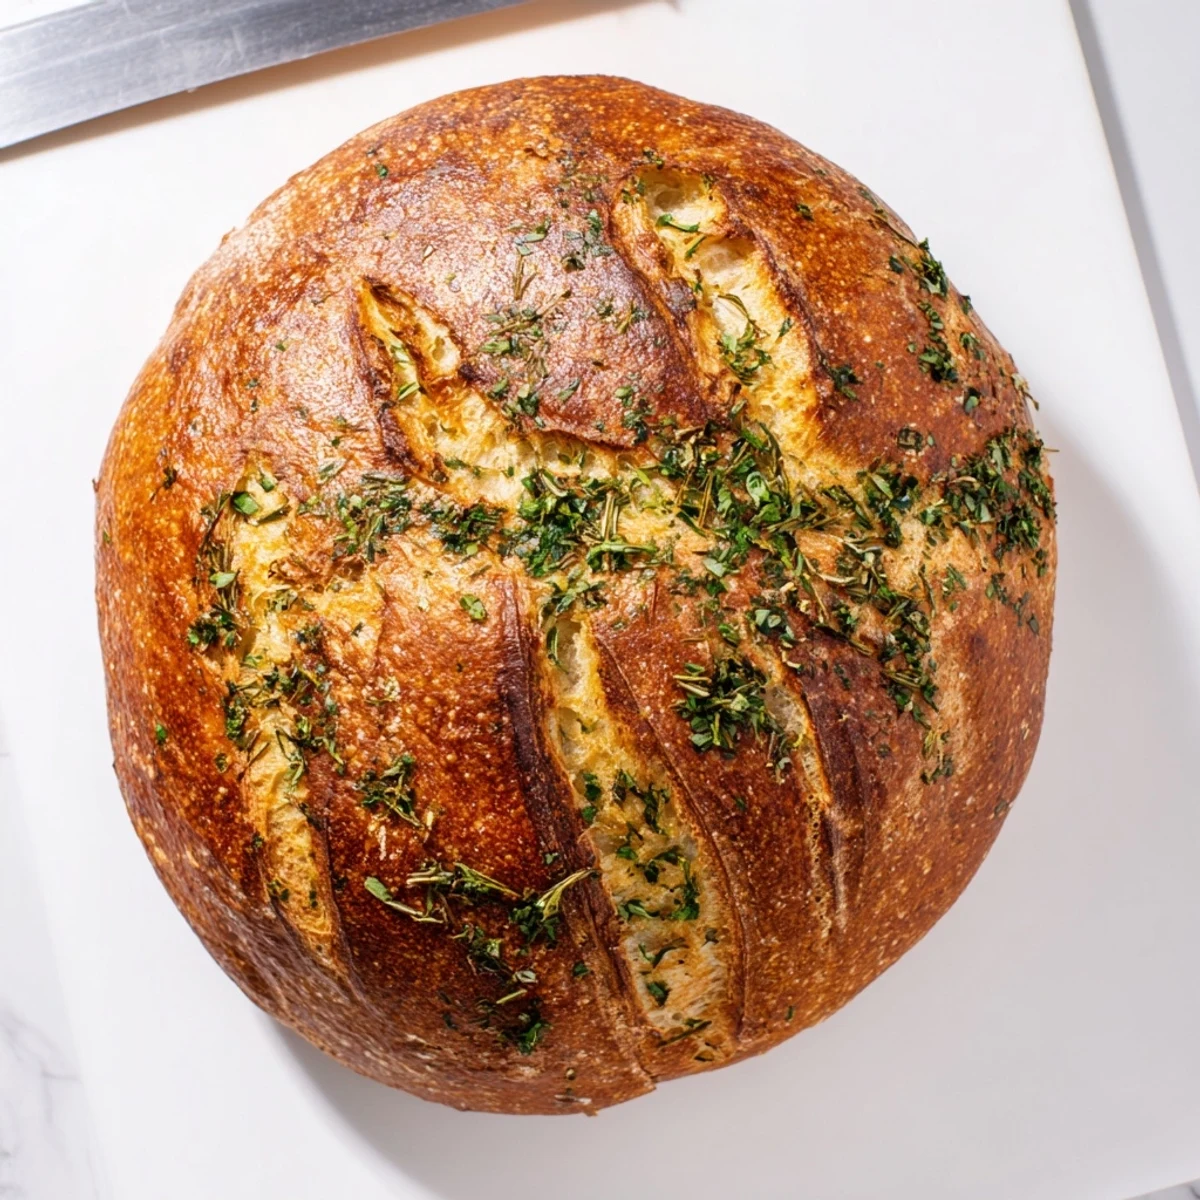
 This bread has become my go to for new neighbors, housewarmings, and Tuesdays that just feel like they need something special. There's something profoundly satisfying about pulling a homemade loaf from the oven, your kitchen filled with the scent of garlic and accomplishment. It's not just bread, it's a conversation starter, a comfort food, and a little bit of edible love all at once.
Making It Your Own
Once you've mastered the basic technique, this dough is incredibly adaptable. I've added shredded cheddar and jalapeños for game day, swapped in dried Italian herbs when my garden was bare, and even mixed in caramelized onions for a sweet and savory version. The key is keeping the flour to liquid ratio consistent, then letting your imagination guide the add ins.
Storage Secrets
This bread is actually better the second day, assuming it lasts that long. Store it in a paper bag at room temperature, which lets the crust breathe without becoming completely soft. If you somehow have leftovers, day old bread makes incredible croutons or the foundation for a rustic bread pudding that will make you glad you practiced restraint.
Serving Suggestions
I've served this alongside everything from hearty tomato soup to simple pasta dishes, and it never fails to impress. The garlic and herb profile makes it substantial enough to stand up to bold flavors, but subtle enough not to overpower delicate dishes.
- Tear chunks directly into olive oil seasoned with salt and pepper
- Use thick slices as the foundation for an exceptional grilled cheese sandwich
- Toast leftover slices and top with smashed avocado for breakfast
 Pin it
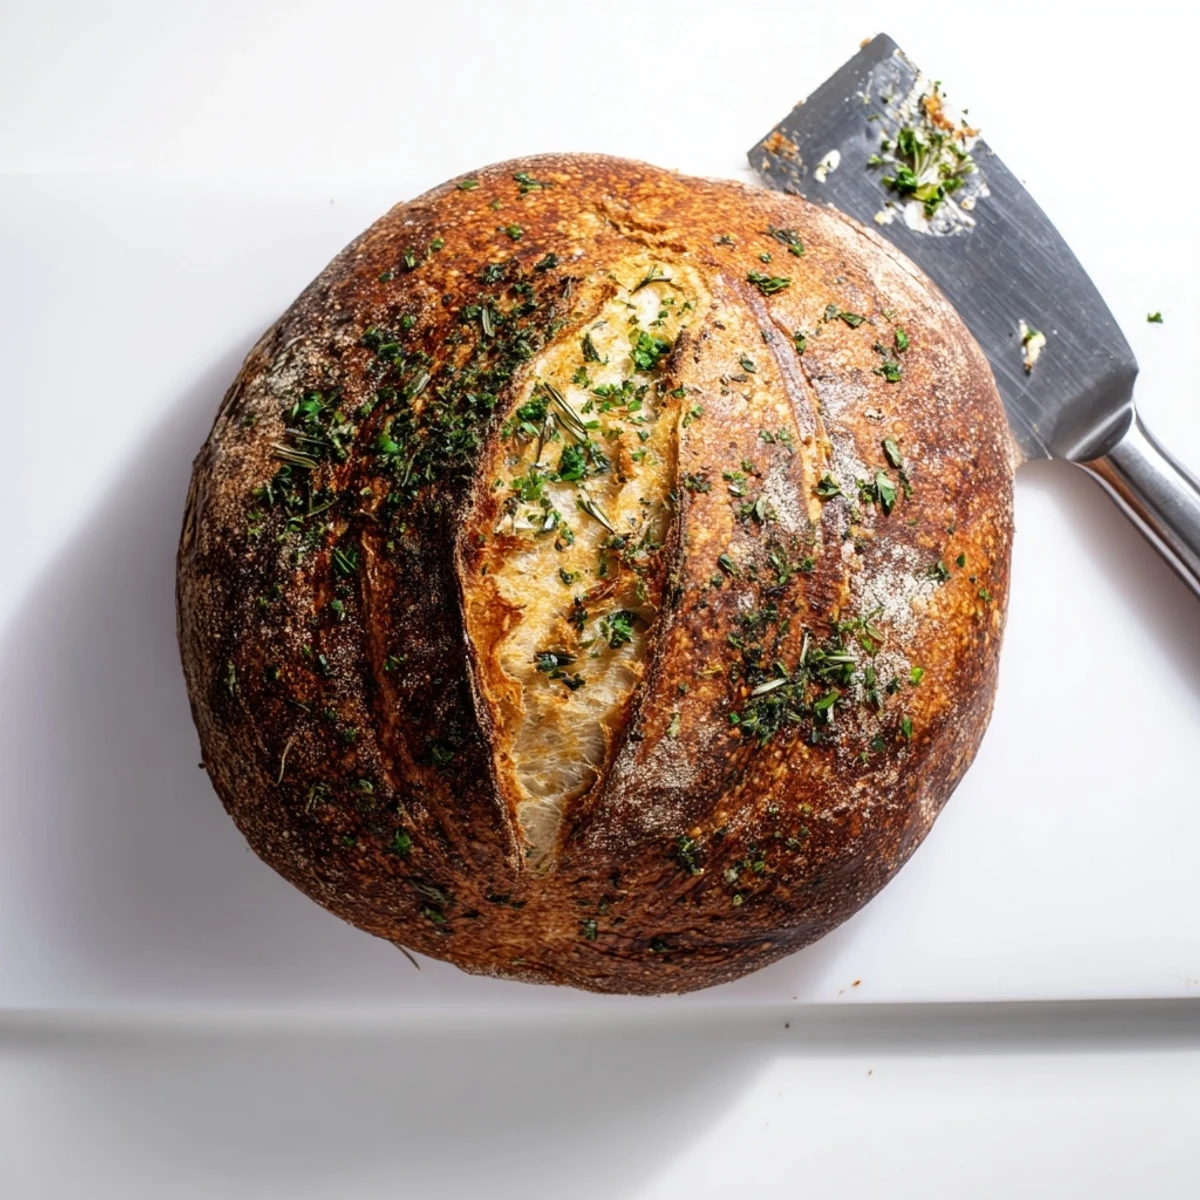
 There's nothing quite like the sound of a freshly baked loaf crackling as it cools on your counter. I hope this recipe brings as much warmth and joy to your kitchen as it has to mine.
Recipe Q&A
- → Why use a Dutch oven for bread?
-
The Dutch oven creates steam inside during baking, which helps develop a crispy crust and allows the bread to rise properly. It mimics professional steam-injected ovens.
- → Can I use dried herbs instead of fresh?
-
Yes, substitute 1 teaspoon each of dried rosemary, thyme, and parsley. Reduce the amount since dried herbs are more concentrated than fresh.
- → How do I know when the bread is done?
-
The crust should be deep golden brown, and the loaf should sound hollow when tapped on the bottom. An instant thermometer inserted into the center should read 200°F (93°C).
- → Can I make this dairy-free?
-
Replace the melted butter brushing at the end with additional olive oil. The bread itself contains no dairy except for the final butter coating.
- → How should I store leftovers?
-
Wrap tightly in plastic or store in a bread bag at room temperature for up to 3 days. For longer storage, slice and freeze in a freezer bag for up to 3 months.
- → What size Dutch oven do I need?
-
You'll need at least a 4-quart Dutch oven to accommodate the rising loaf. A 5-6 quart size works well and gives extra room for oven spring.