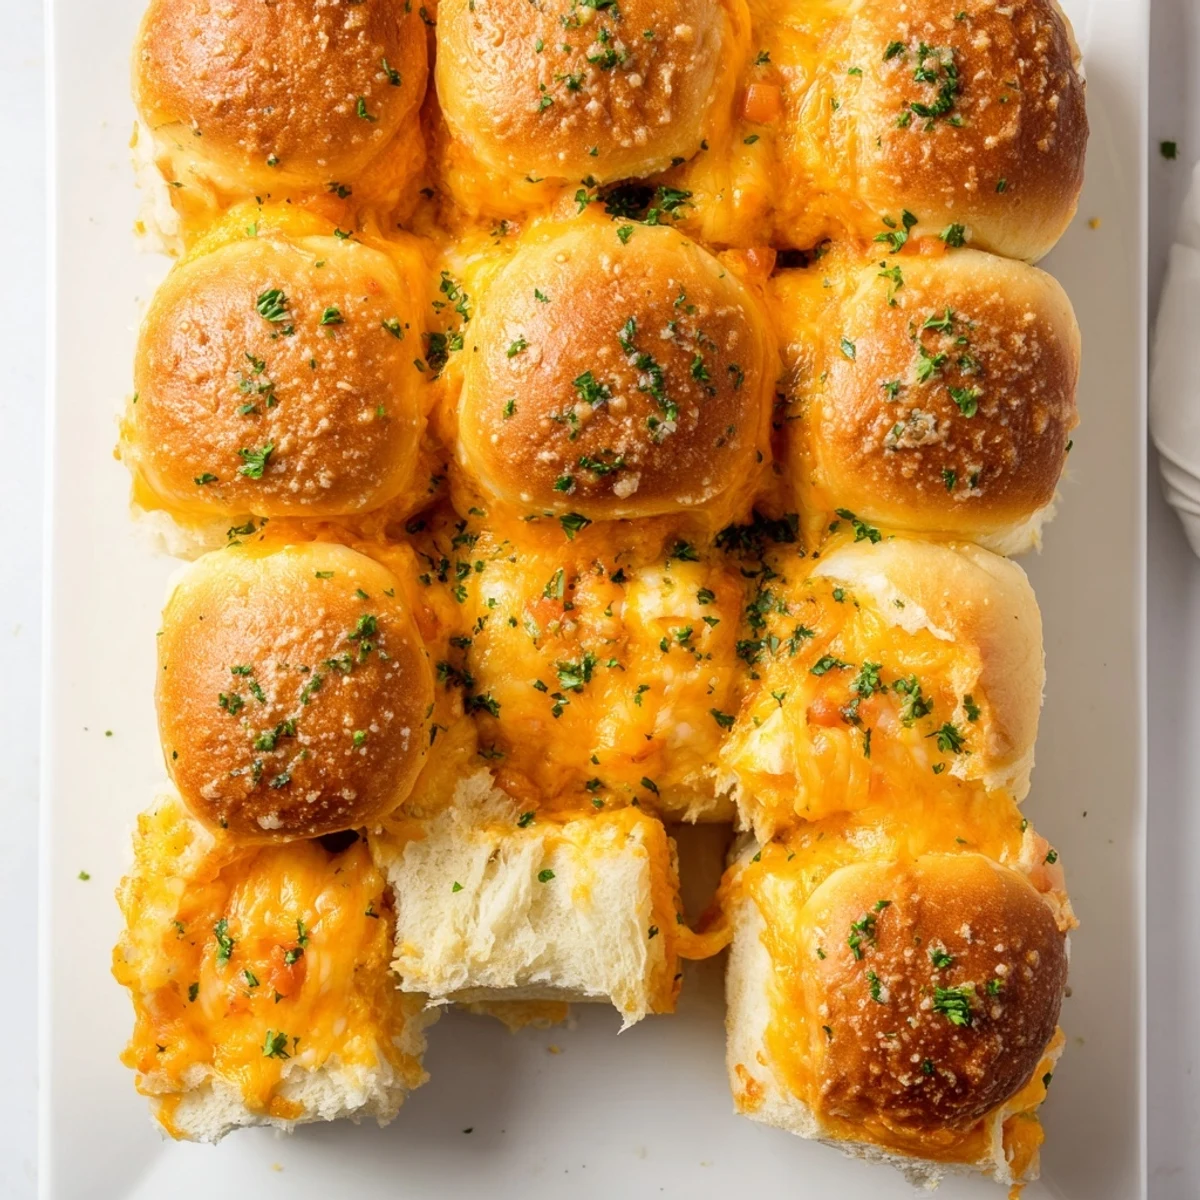
 Pin it
 These Hawaiian roll sliders transform classic grilled cheese into crowd-pleasing bites. Sweet rolls pair perfectly with savory mozzarella and sharp cheddar, creating that irresistible sweet-salty combination everyone loves. The garlic butter topping adds extra flavor while the edges get deliciously crispy in the oven.
Ready in just 25 minutes, these sliders disappear fast at gatherings. They reheat beautifully for meal prep or busy weeknight dinners. The entire batch bakes at once—no individual flipping required like traditional grilled cheese.
The smell of butter melting on sweet bread hits differently when you're hosting game night and everyone's already hungry. I stumbled onto this slider trick during a chaotic potluck when my friend Sarah laughed that I was cutting corners by keeping the rolls connected. That night, those buttery, cheesy little sandwiches disappeared faster than anything else on the table, and now they're my go-to whenever I need serious comfort food without serious effort.
Last winter my sister stayed over during that week nothing sounded good except something warm and melty. We stood in the kitchen watching them bake through the oven window, talking about nothing much while the cheese started bubbling up through the rolls. Sometimes the best moments happen waiting for food to finish.
Ingredients
- Hawaiian sweet rolls: The sweetness here is crucial because it balances the sharp cheddar, and keeping them connected makes assembly so much faster
- Shredded mozzarella cheese: This creates those gorgeous cheese pulls everyone loves, and it melts more evenly than fresh slices
- Cheddar cheese: Go for something sharp here—I used mild once and the flavor just disappeared into the bread
- Unsalted butter: Using unsalted lets you control exactly how salty these get, since both cheeses already bring their own salt game
- Garlic powder: Fresh garlic burns too quickly at this temperature, so powder gives you that savory flavor without any bitterness
- Fresh parsley and Parmesan: These toppings take five seconds but make everything look restaurant-worthy and add this nice herbal hit
Instructions
- Get your oven ready:
- Heat to 350°F and line a baking sheet—trust me, melted cheese cleanup is nobody's idea of fun.
- Prep the rolls:
- Cut the whole block horizontally, keeping all the rolls connected so they bake like one giant sandwich.
- Layer on the cheese:
- Start with mozzarella on the bottom half, then layer your cheddar on top for maximum melt coverage.
- Reassemble and butter:
- Put the tops back on and brush that garlic butter everywhere—do not skimp here, seriously.
- Add the fancy finish:
- Sprinkle parsley and Parmesan on top if you want them to look impressive, which you definitely do.
- Bake until golden:
- Twelve to fifteen minutes until the cheese is oozing and the tops are a gorgeous golden brown.
- The final touch:
- Let them cool for just two minutes before cutting—hot cheese burns are real, and nobody has time for that.
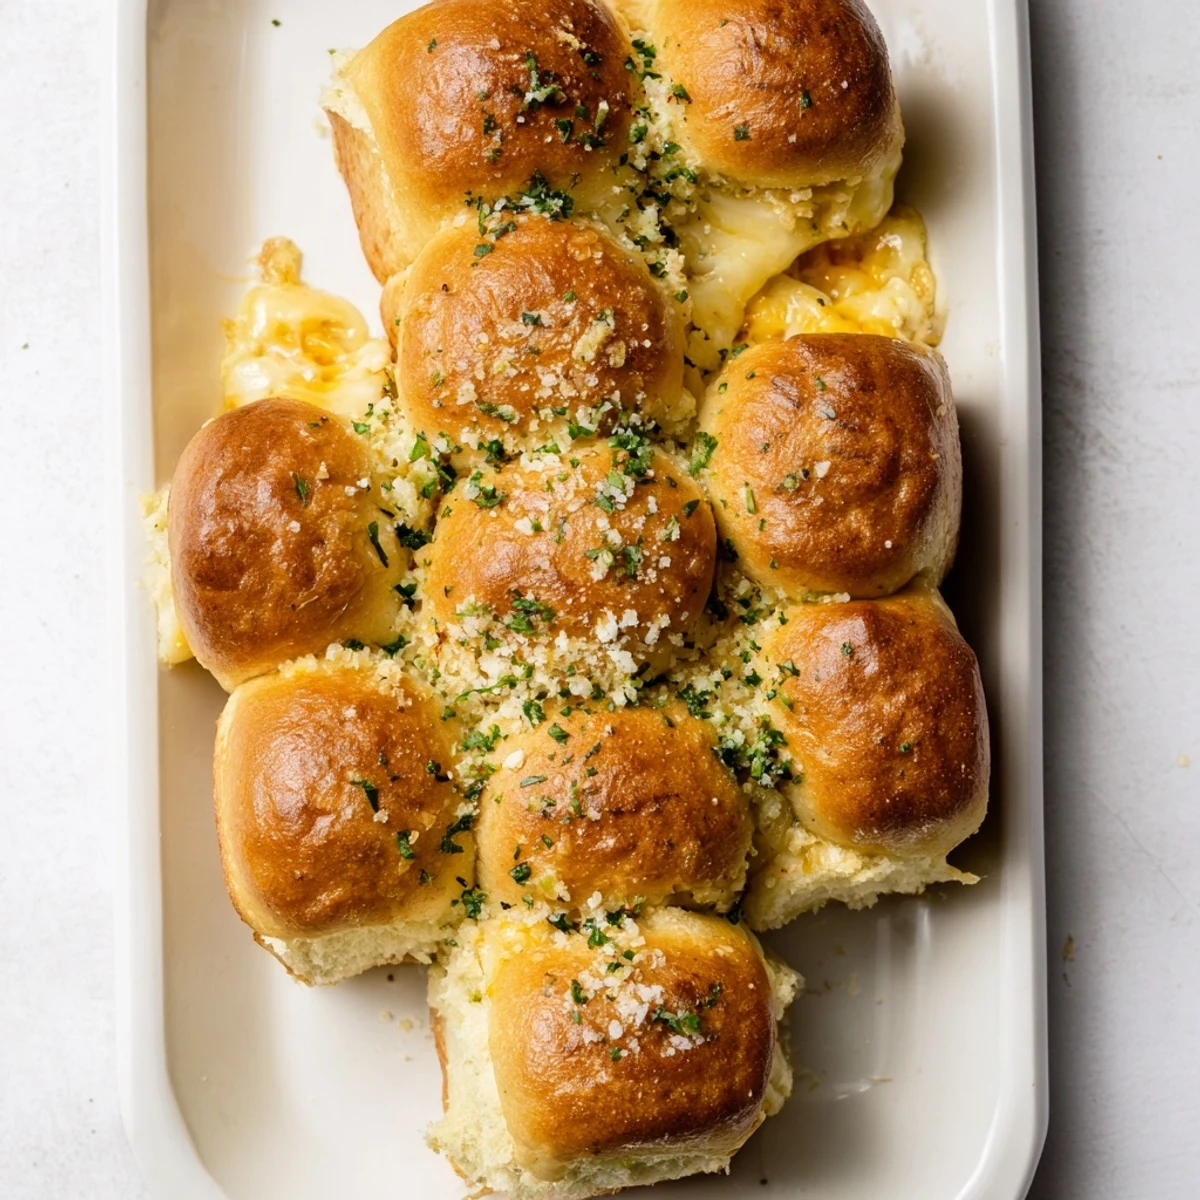 Pin it
 These sliders became legendary in my friend group after I made them for my brother's birthday. He kept going back to the kitchen one at a time until half the tray was gone, pretending he was just checking something. That's when I knew this recipe was a keeper.
Make-Ahead Magic
You can assemble everything the night before, wrap it tight in foil, and just pop it in the oven when guests arrive. I've done this for brunches and morning meetings, and people always think I've been cooking for hours.
Cheese Swaps That Work
Provolone gives you this incredible melt while pepper jack adds just enough kick to wake everything up. Sometimes I'll throw in some gruyère when I'm feeling fancy, and smoked gouda basically turns these into barbecue food.
Serving Ideas
These disappear fastest alongside hot tomato soup or as part of a spread with wings and veggie trays. I've served them at everything from Super Bowl parties to baby showers, and they're always the first thing gone.
- Cut them with a serrated knife using a gentle sawing motion so the tops don't squish down
- Keep them covered with foil while they sit if you're not serving immediately
- Reheat any leftovers in a 300°F oven for about five minutes because the microwave makes them sad and rubbery
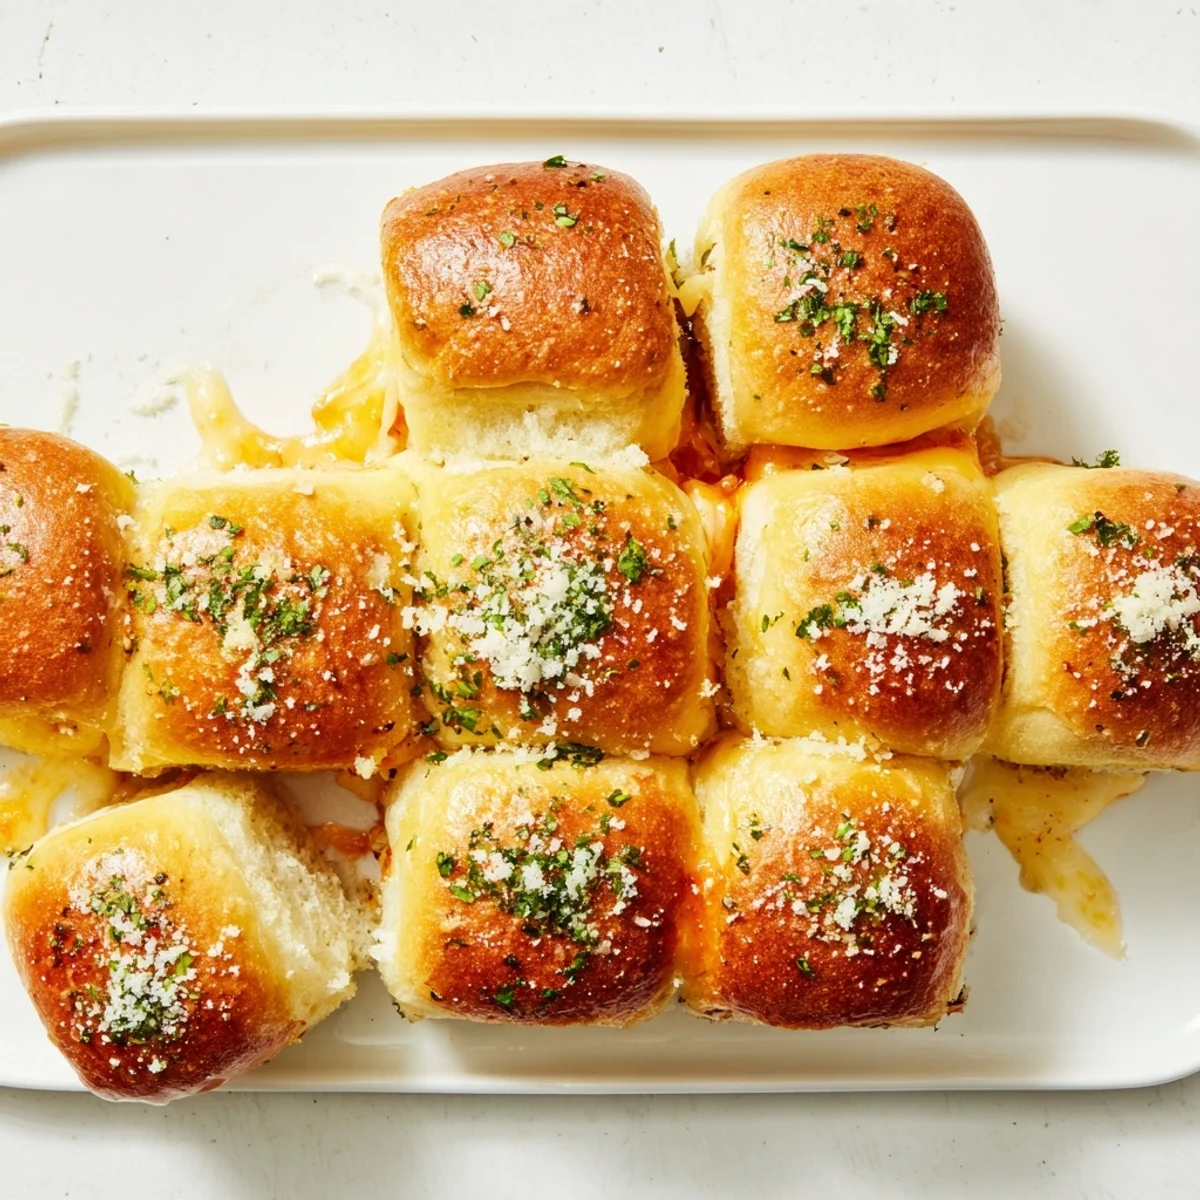 Pin it
 Some recipes are just happy food, and these sliders are exactly that. Hope they bring as much joy to your table as they have to mine.
Recipe Q&A
- → Can I make these ahead of time?
-
Yes, assemble the sliders up to 24 hours in advance and refrigerate unbaked. Add 2-3 minutes to baking time if baking cold from the refrigerator.
- → What cheeses work best?
-
Mozzarella provides the melt, while cheddar adds sharp flavor. Try pepper jack for spice, gruyère for nuttiness, or smoked gouda for depth. Any good melting cheese combination works wonderfully.
- → How do I store leftovers?
-
Store cooled sliders in an airtight container for up to 3 days. Reheat in a 350°F oven for 5-8 minutes to restore crispiness. The microwave makes them soggy, so avoid reheating that way.
- → Can I freeze these?
-
Freeze assembled unbaked sliders for up to 1 month. Thaw overnight in the refrigerator, then bake as directed. Already-baked sliders freeze well too—reheat from frozen at 350°F for 10-12 minutes.
- → What can I add inside?
-
Thin tomato slices, fresh spinach, caramelized onions, or cooked bacon elevate these sliders. Just keep additions thin so the rolls close properly. A slice of ham turns them into mini Cubanos.