 Pin it
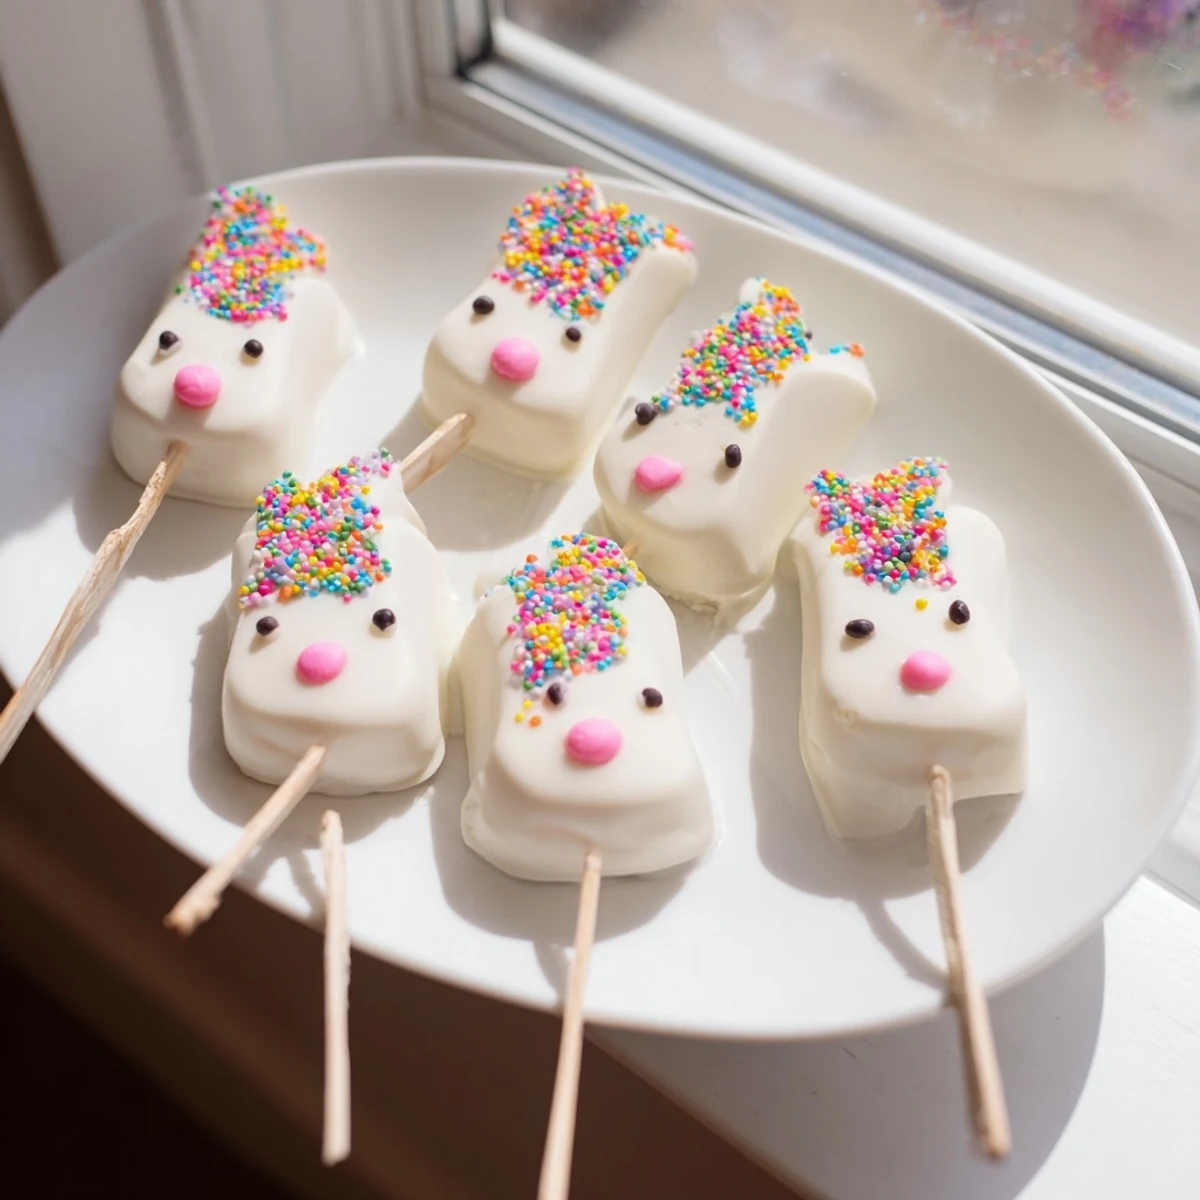
 These charming bunny-shaped treats combine moist vanilla cake crumbs with cream cheese and butter, creating a doughy mixture that's shaped into festive forms. After chilling, each gets dipped in luscious melted white chocolate and decorated with candy eyes, sprinkles, or fondant details. The result is an adorable handheld dessert that's both visually appealing and deliciously sweet.
The preparation comes together in just one hour, making them ideal for Easter gatherings, spring parties, or fun kitchen projects with children. Customize the decorations to match your celebration colors, or experiment with different cake flavors like chocolate or lemon for variety.
Store these festive treats in the refrigerator for up to three days, though they rarely last that long once guests spot them. The combination of creamy white chocolate coating and tender cake interior creates an irresistible treat that captures the joy of spring baking.
Last Easter, my kitchen turned into what I can only describe as a sparkly disaster zone. White chocolate everywhere, sprinkles in places they really shouldn't be, and four tiny cousins covered in more chocolate than they actually managed to get onto the cakesicles. Best Easter ever.
I actually discovered cakesicles when I was trying to figure out what to do with some slightly dry cupcakes from a failed experiment. Turns out, crumbling cake and mixing it with cream cheese is basically the universe telling you to make something magical.
Ingredients
- Vanilla cake crumbs: I've used everything from homemade vanilla sponge to those grocery store cupcakes that are somehow always moist
- Cream cheese: This is the binding magic that holds everything together into something scoopable and shapeable
- Unsalted butter: Room temperature is non negotiable here or you'll be fighting with your mixture
- Powdered sugar: Just enough to sweeten the deal without making it cloying
- Vanilla extract: Pure extract makes such a difference in the final flavor
- White chocolate: Melting wafers are easier to work with than actual chocolate bars
- Edible gel food coloring: Get the gel kind, not liquid, or your white chocolate will seize up and cry
- Cakesicle sticks: These are thicker than regular cake pop sticks and really necessary for stability
Instructions
- Make the cake mixture:
- Mix everything in a medium bowl until it feels like soft playdough that holds together when you squeeze it. The mixture should be pliable but not sticky.
- Shape your bunnies:
- Divide into 8 portions and flatten each into an oval bunny face shape. Press the sticks in about halfway and freeze for 20 minutes so they don't fall apart during dipping.
- Melt the white chocolate:
- Microwave in 30 second bursts, stirring between each one. White chocolate burns easily and becomes grainy, so patient stirring is your friend here.
- Dip and decorate:
- Dip each frozen cakesicle into the chocolate, tap off the excess, and immediately add decorations. The coating sets fast, so work quickly with the sprinkles and candy eyes.
 Pin it
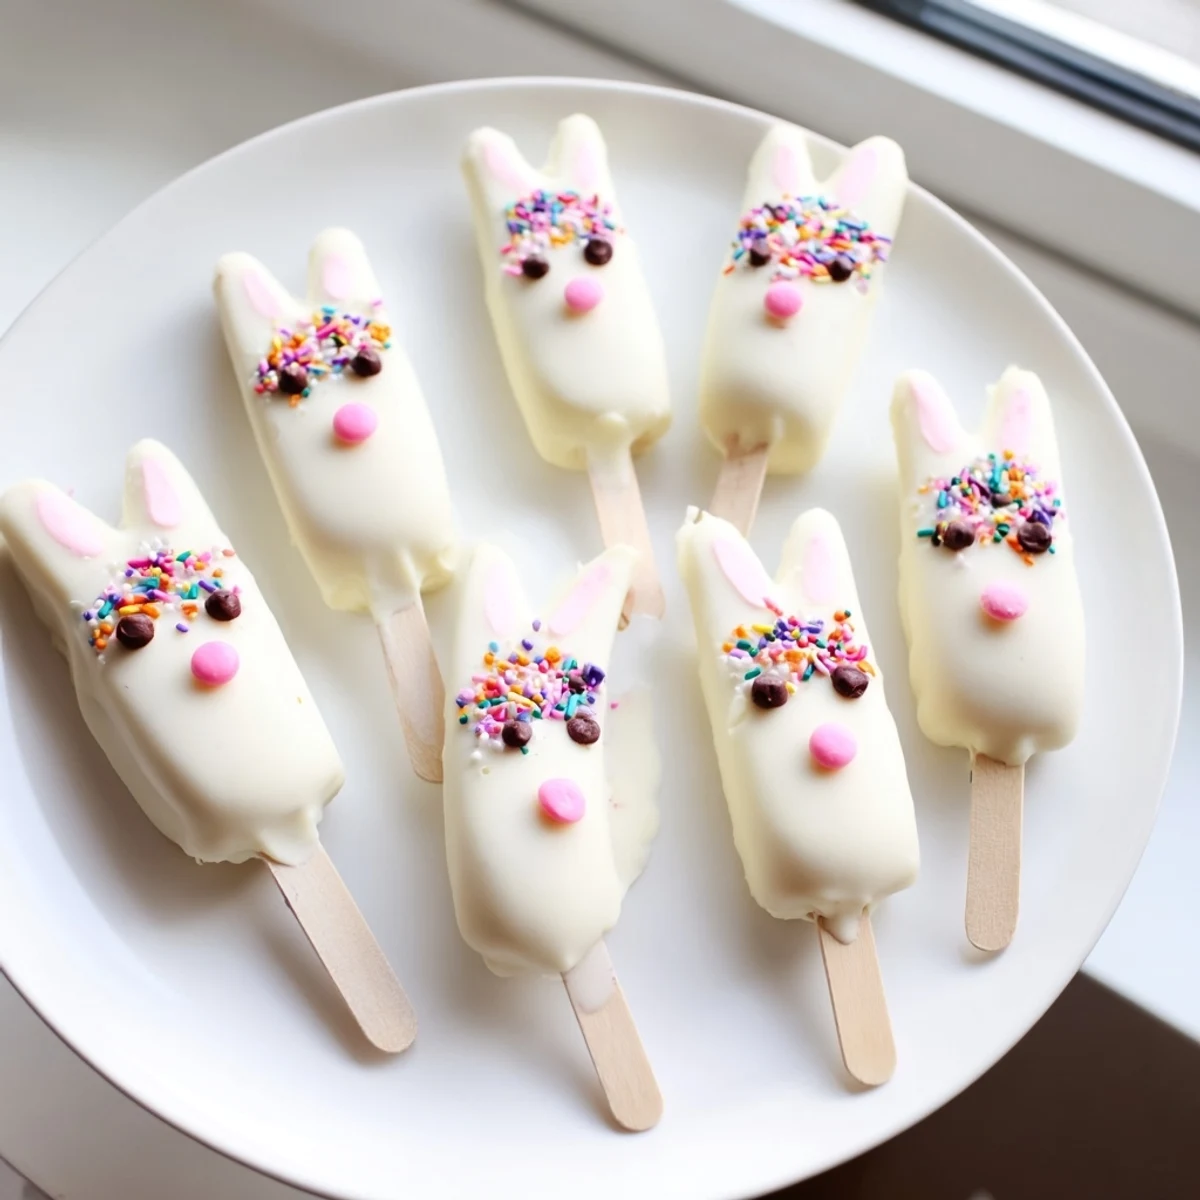
 My niece insisted on making one cakesicle with purple ears because bunnies can be any color they want, and honestly she's not wrong. That purple eared bunny was the first one gone.
Making Them Ahead
I've learned the hard way that these are best made the day before your event. They need time to fully set in the refrigerator, and trying to rush this step just leads to smudged chocolate and broken bunny ears.
Flavor Variations
Chocolate cake crumbs with dark chocolate coating is incredibly sophisticated. Lemon cake with white coating and yellow decorations tastes like sunshine.
Serving And Storage
Stand them up in a jar filled with sprinkles or sugar for the cutest display ever. Store in the refrigerator for up to 3 days, though they rarely last that long in my house.
- Let them come to room temperature for about 10 minutes before serving
- Package individually in clear bags tied with ribbon for gifts
- Keep away from direct sunlight or the white chocolate will yellow
 Pin it
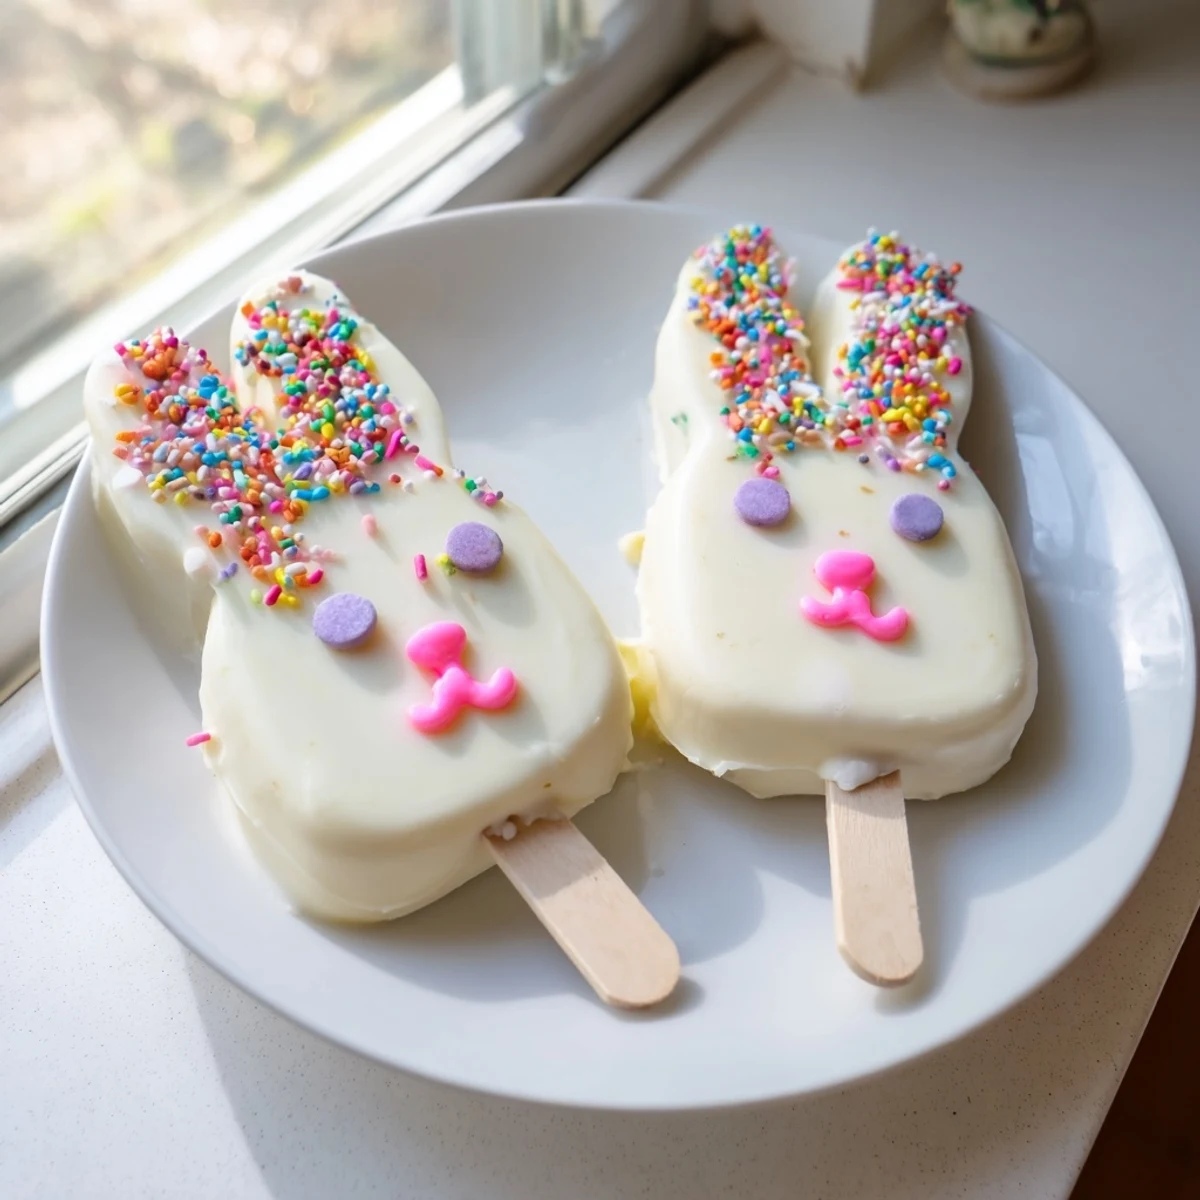
 There's something so satisfying about biting into these, the snap of chocolate giving way to soft creamy cake. Happy Easter, and may your kitchen be merry, bright, and covered in sprinkles.
Recipe Q&A
- → What tools do I need to make these bunny treats?
-
You'll need a mixing bowl, spatula, microwave-safe bowl for melting chocolate, parchment paper, and cakesicle sticks. A cakesicle mold is optional but helps achieve uniform shapes. The process is straightforward and requires minimal specialized equipment.
- → Can I use different cake flavors besides vanilla?
-
Absolutely! Chocolate cake crumbs create a rich contrast with white chocolate coating, while lemon adds bright citrus notes. Even red velvet or funfetti work beautifully. Use whatever leftover cake you have or bake your favorite flavor specifically for this project.
- → How long do these treats stay fresh?
-
Store them in an airtight container in the refrigerator for up to three days. The chilled coating helps maintain freshness and prevents the chocolate from becoming soft. Bring to room temperature for about 15 minutes before serving for optimal texture.
- → What's the best way to melt white chocolate without seizing?
-
Melt in short 30-second bursts in the microwave, stirring thoroughly between each interval. White chocolate is more delicate than dark chocolate and can seize easily. Avoid adding any liquid to the chocolate, and keep moisture away from your bowl and utensils.
- → Can I make these ahead for Easter parties?
-
Yes, these are perfect for preparing ahead! Complete them up to two days before your event and store refrigerated. The decorations hold up well, and the flavors actually improve slightly as the cake filling melds with the chocolate coating. Just avoid refrigerating for more than three days.
- → What alternatives work for bunny decorations?
-
Fondant or modeling chocolate cut into ear shapes create cute details. Pretzel sticks make whimsical ears, while candy eyes and sprinkles add personality. You can also use food coloring pens to draw faces directly onto the set chocolate, or pipe melted colored chocolate for precise designs.